How to choose the right florist for your wedding

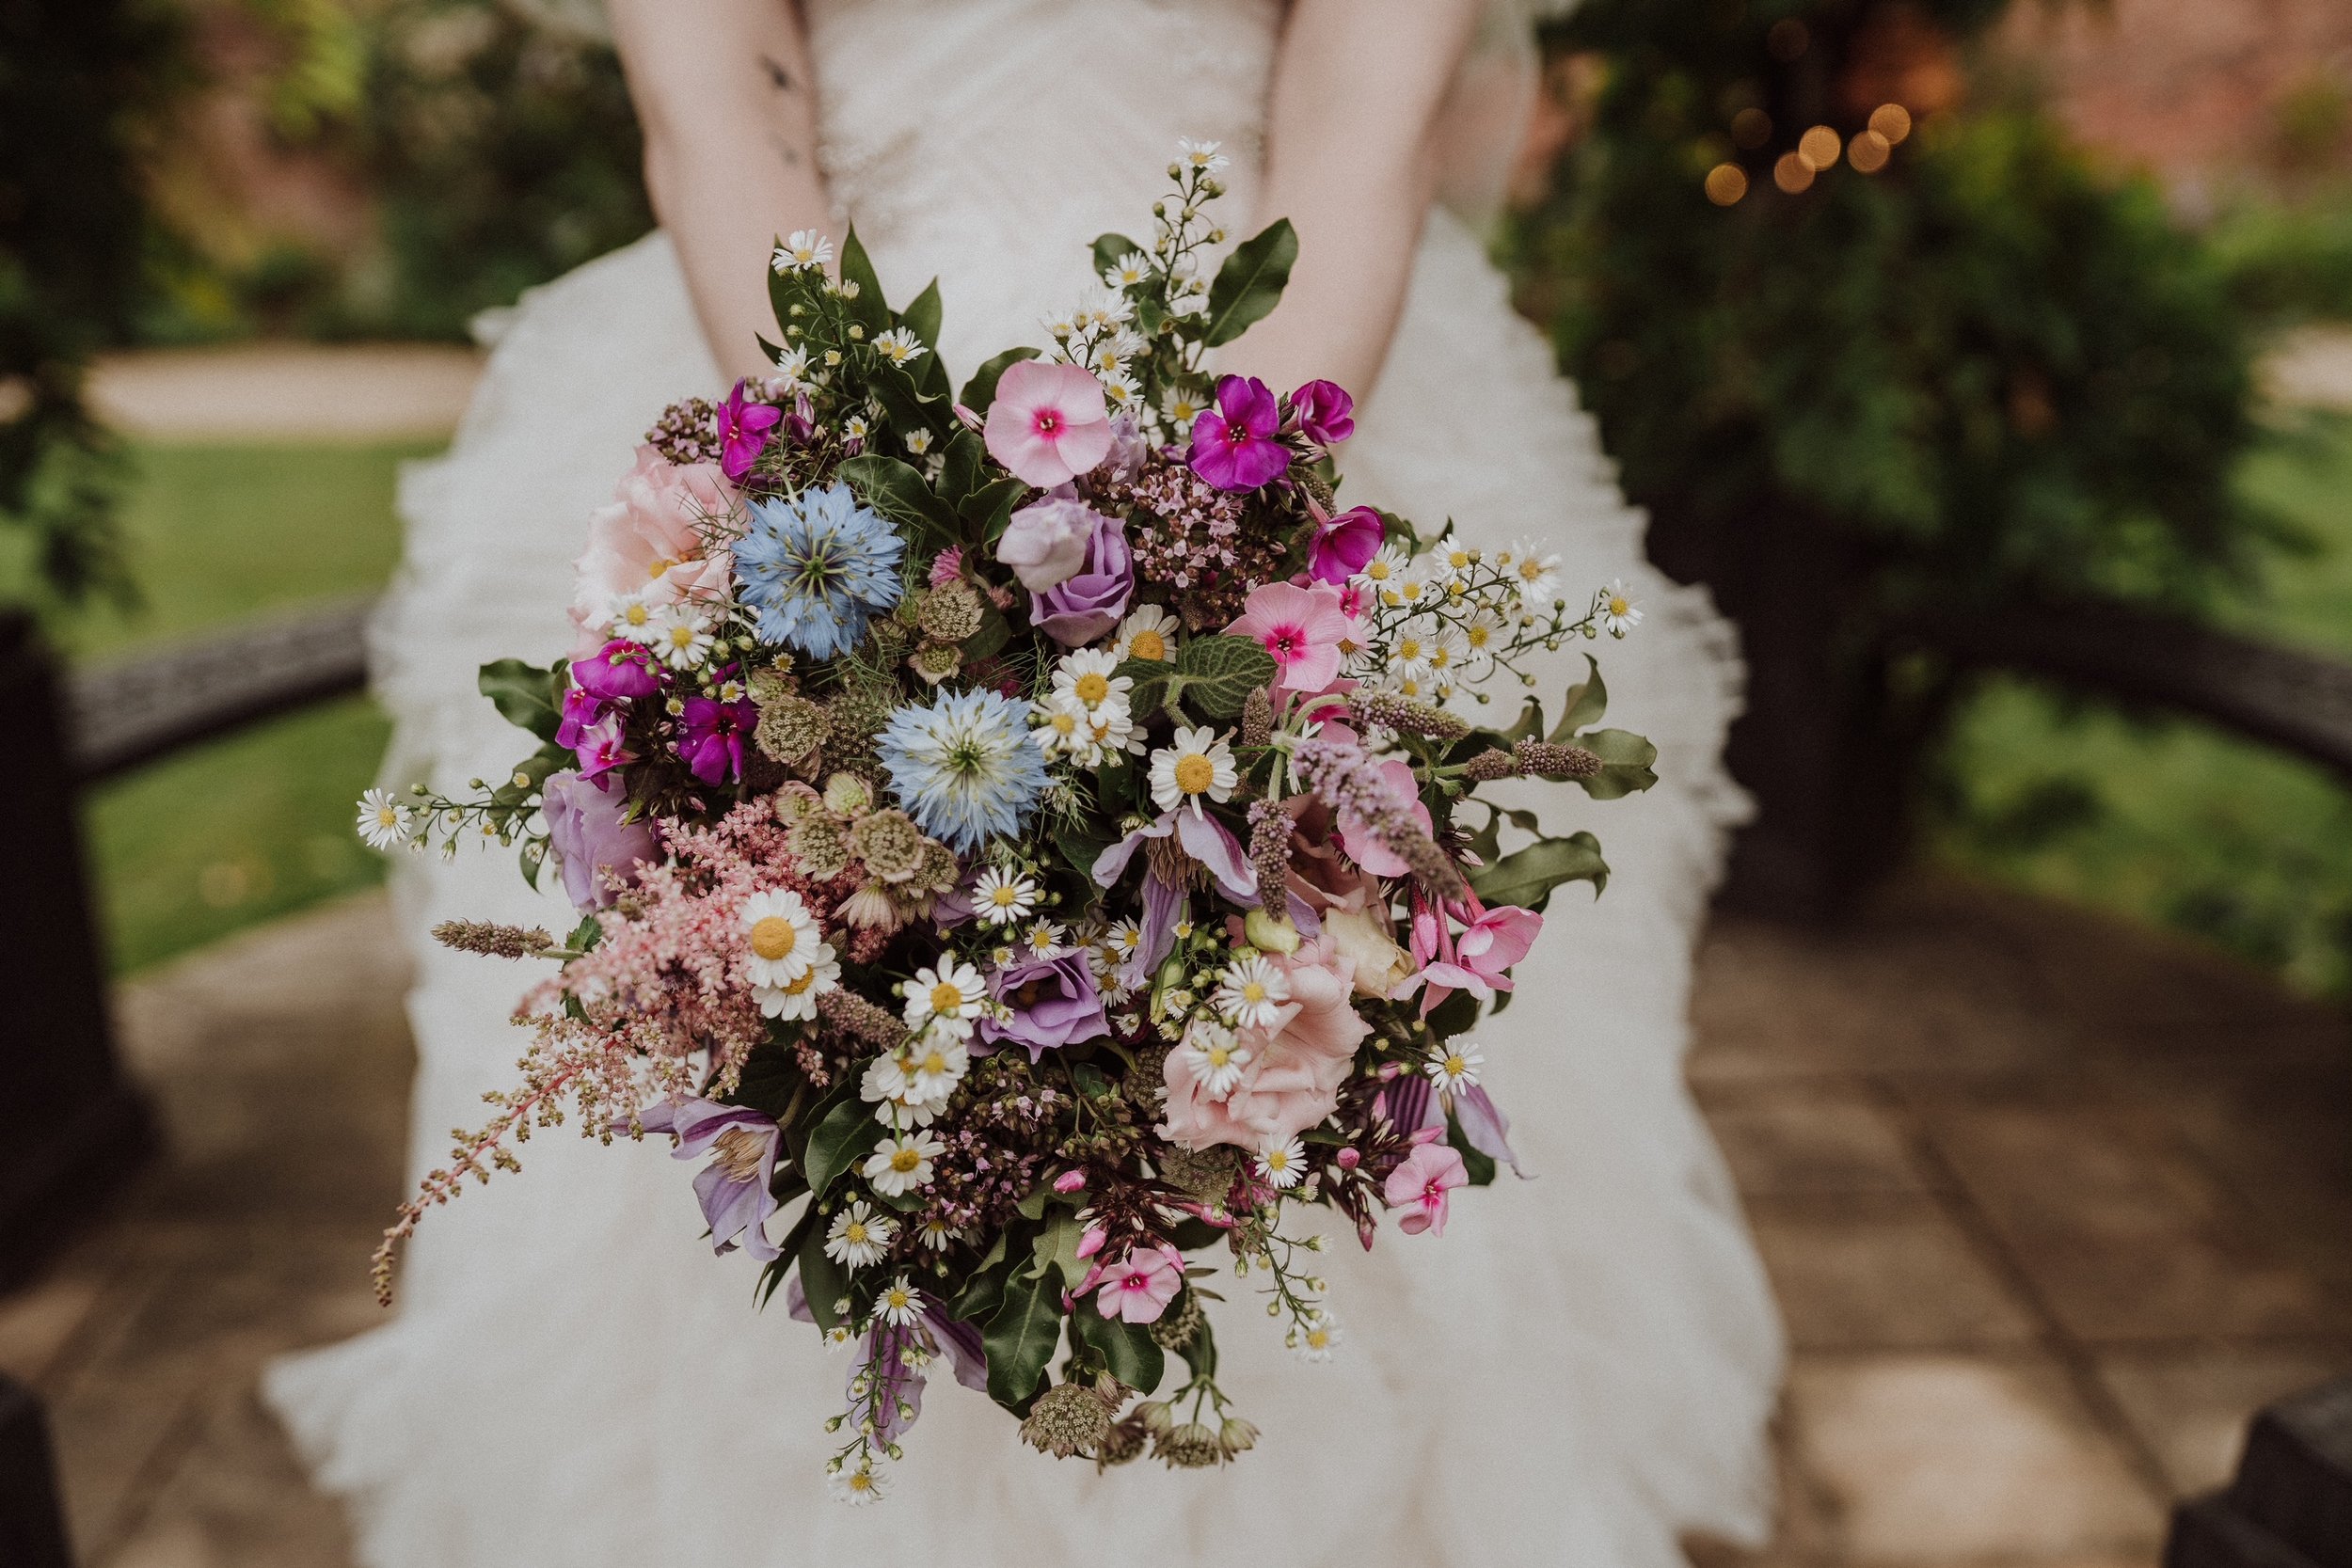
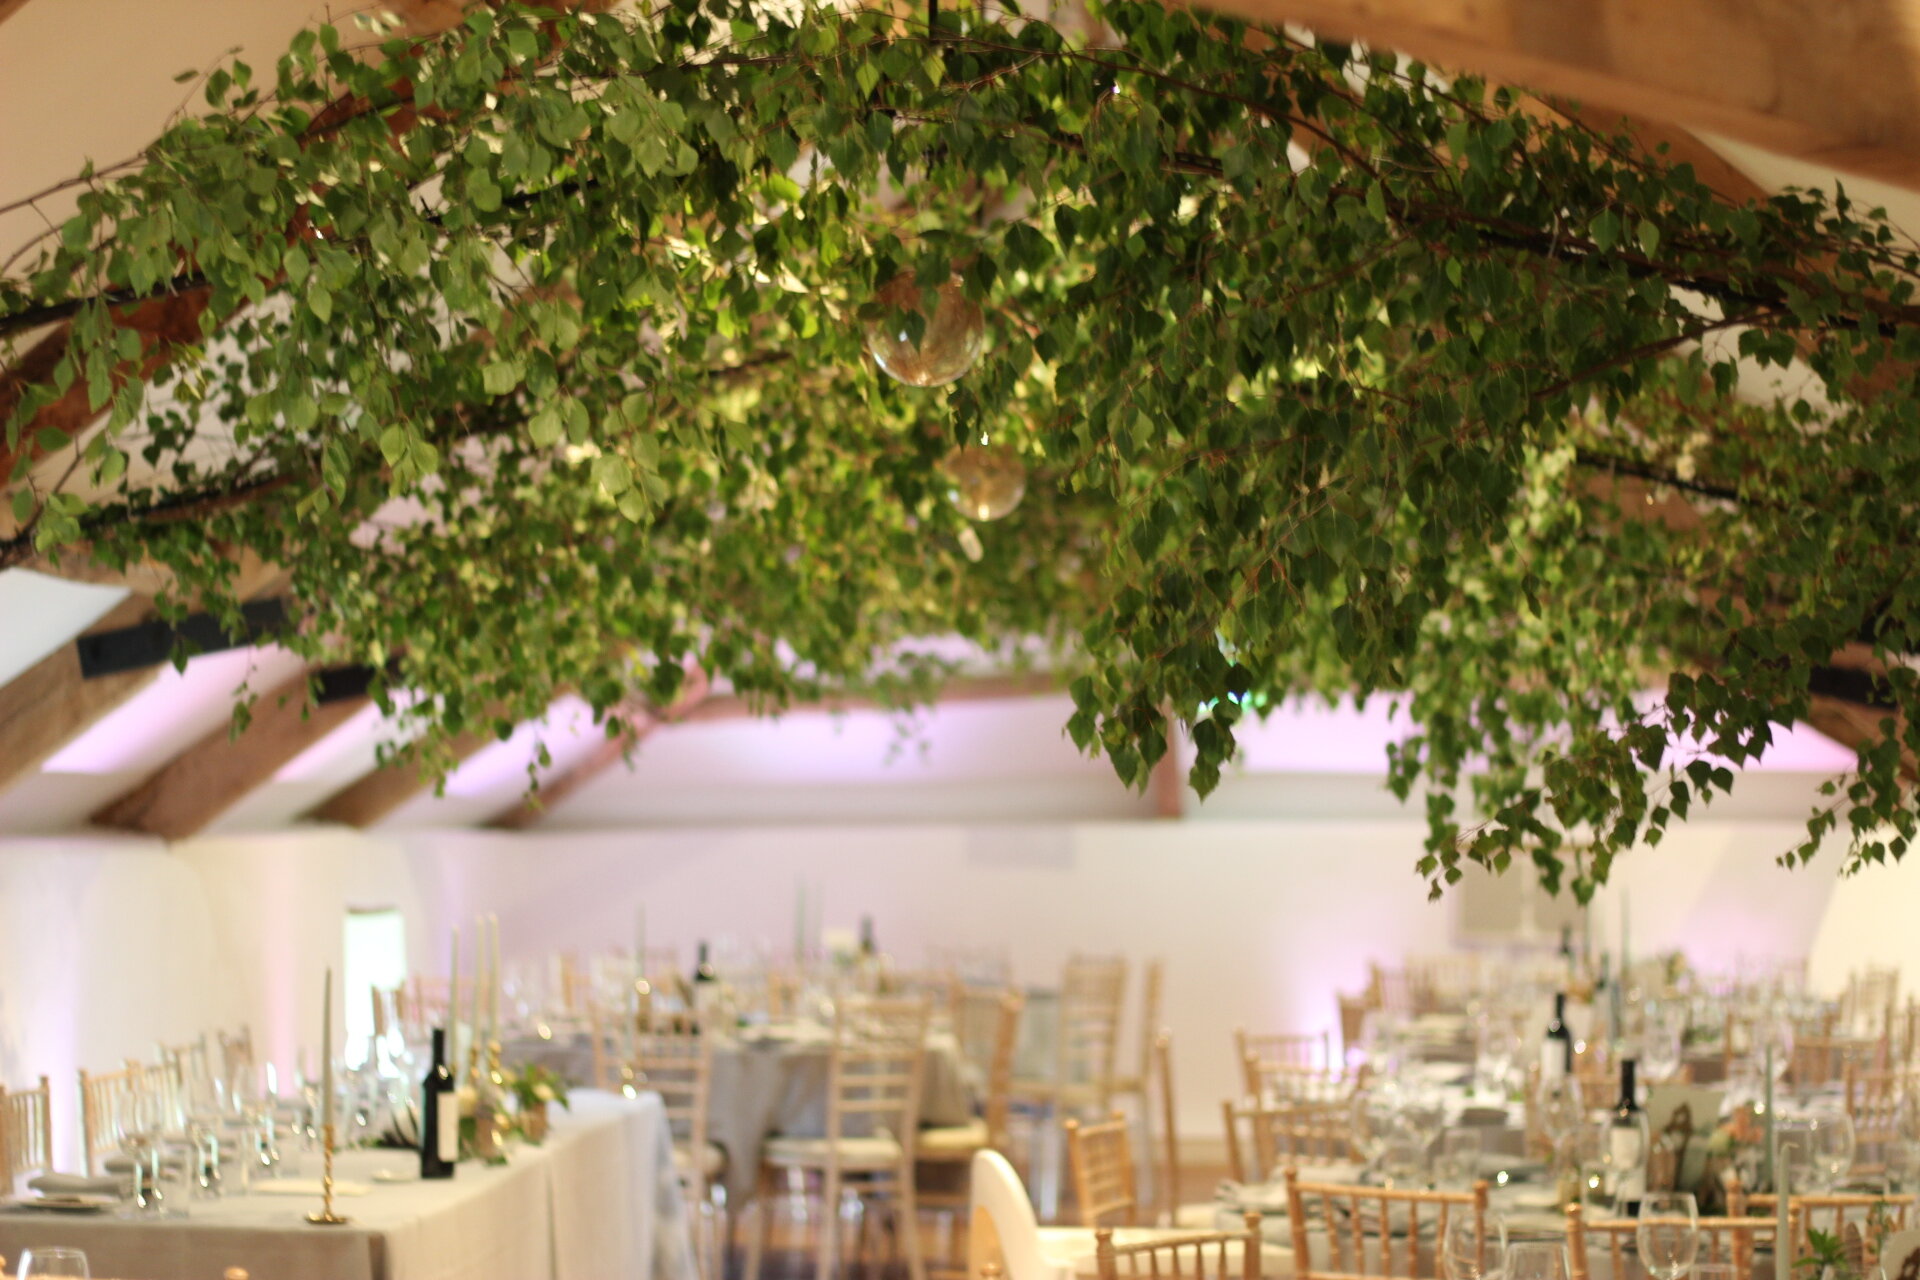
As with anything creative, each florist will have their own style and the best way to know if they’re right for you is to start with their website. The pictures and the writing should speak to you. You might not be able to find exactly what it is that you want, you might not know what you want but you should feel connected and a warmth with it.

The next step is to have a nose at their social media pages. In this modern world, I have alot more pictures on instagram and pinterest than I do on my website. On my instagram page you’ll find lots of pictures of weddings that I have done and if you look on the story highlights (the circles at the top of the grid) then you’ll get to know me a little more and your venue if it’s one that I regularly decorate. My own Pinterest account is a little different to instagram in that it isn’t only my work but also a feel for what inspires me. The easiest way to find my board is to click on the link at the bottom of my website. At the top of the page you’ll see four boards that are created by me with photos of my own work for you to look through. Underneath you’ll find inspiration boards which will again give you a feel about what I love.

If you like what you see then get in touch with that florist. Send them an email to ask if they are available on your day. It also really helps in this initial message to confirm your venue and if you know it, your budget. If you have any details about the arrangements that you know you’d like, tell them. If you’ve seen any pictures you like, send them.

This is the really important bit……you do not have to have pinterest boards or know flower names! If you like a florists website and flower style then get in touch to check they’re available on your date and arrange a consultation. They will take it from there!

https://www.copper-green.co.uk/

https://www.pinterest.co.uk/coppergreenflowers/_saved/

https://www.instagram.com/coppergreenflowers/


Wedding flower logo
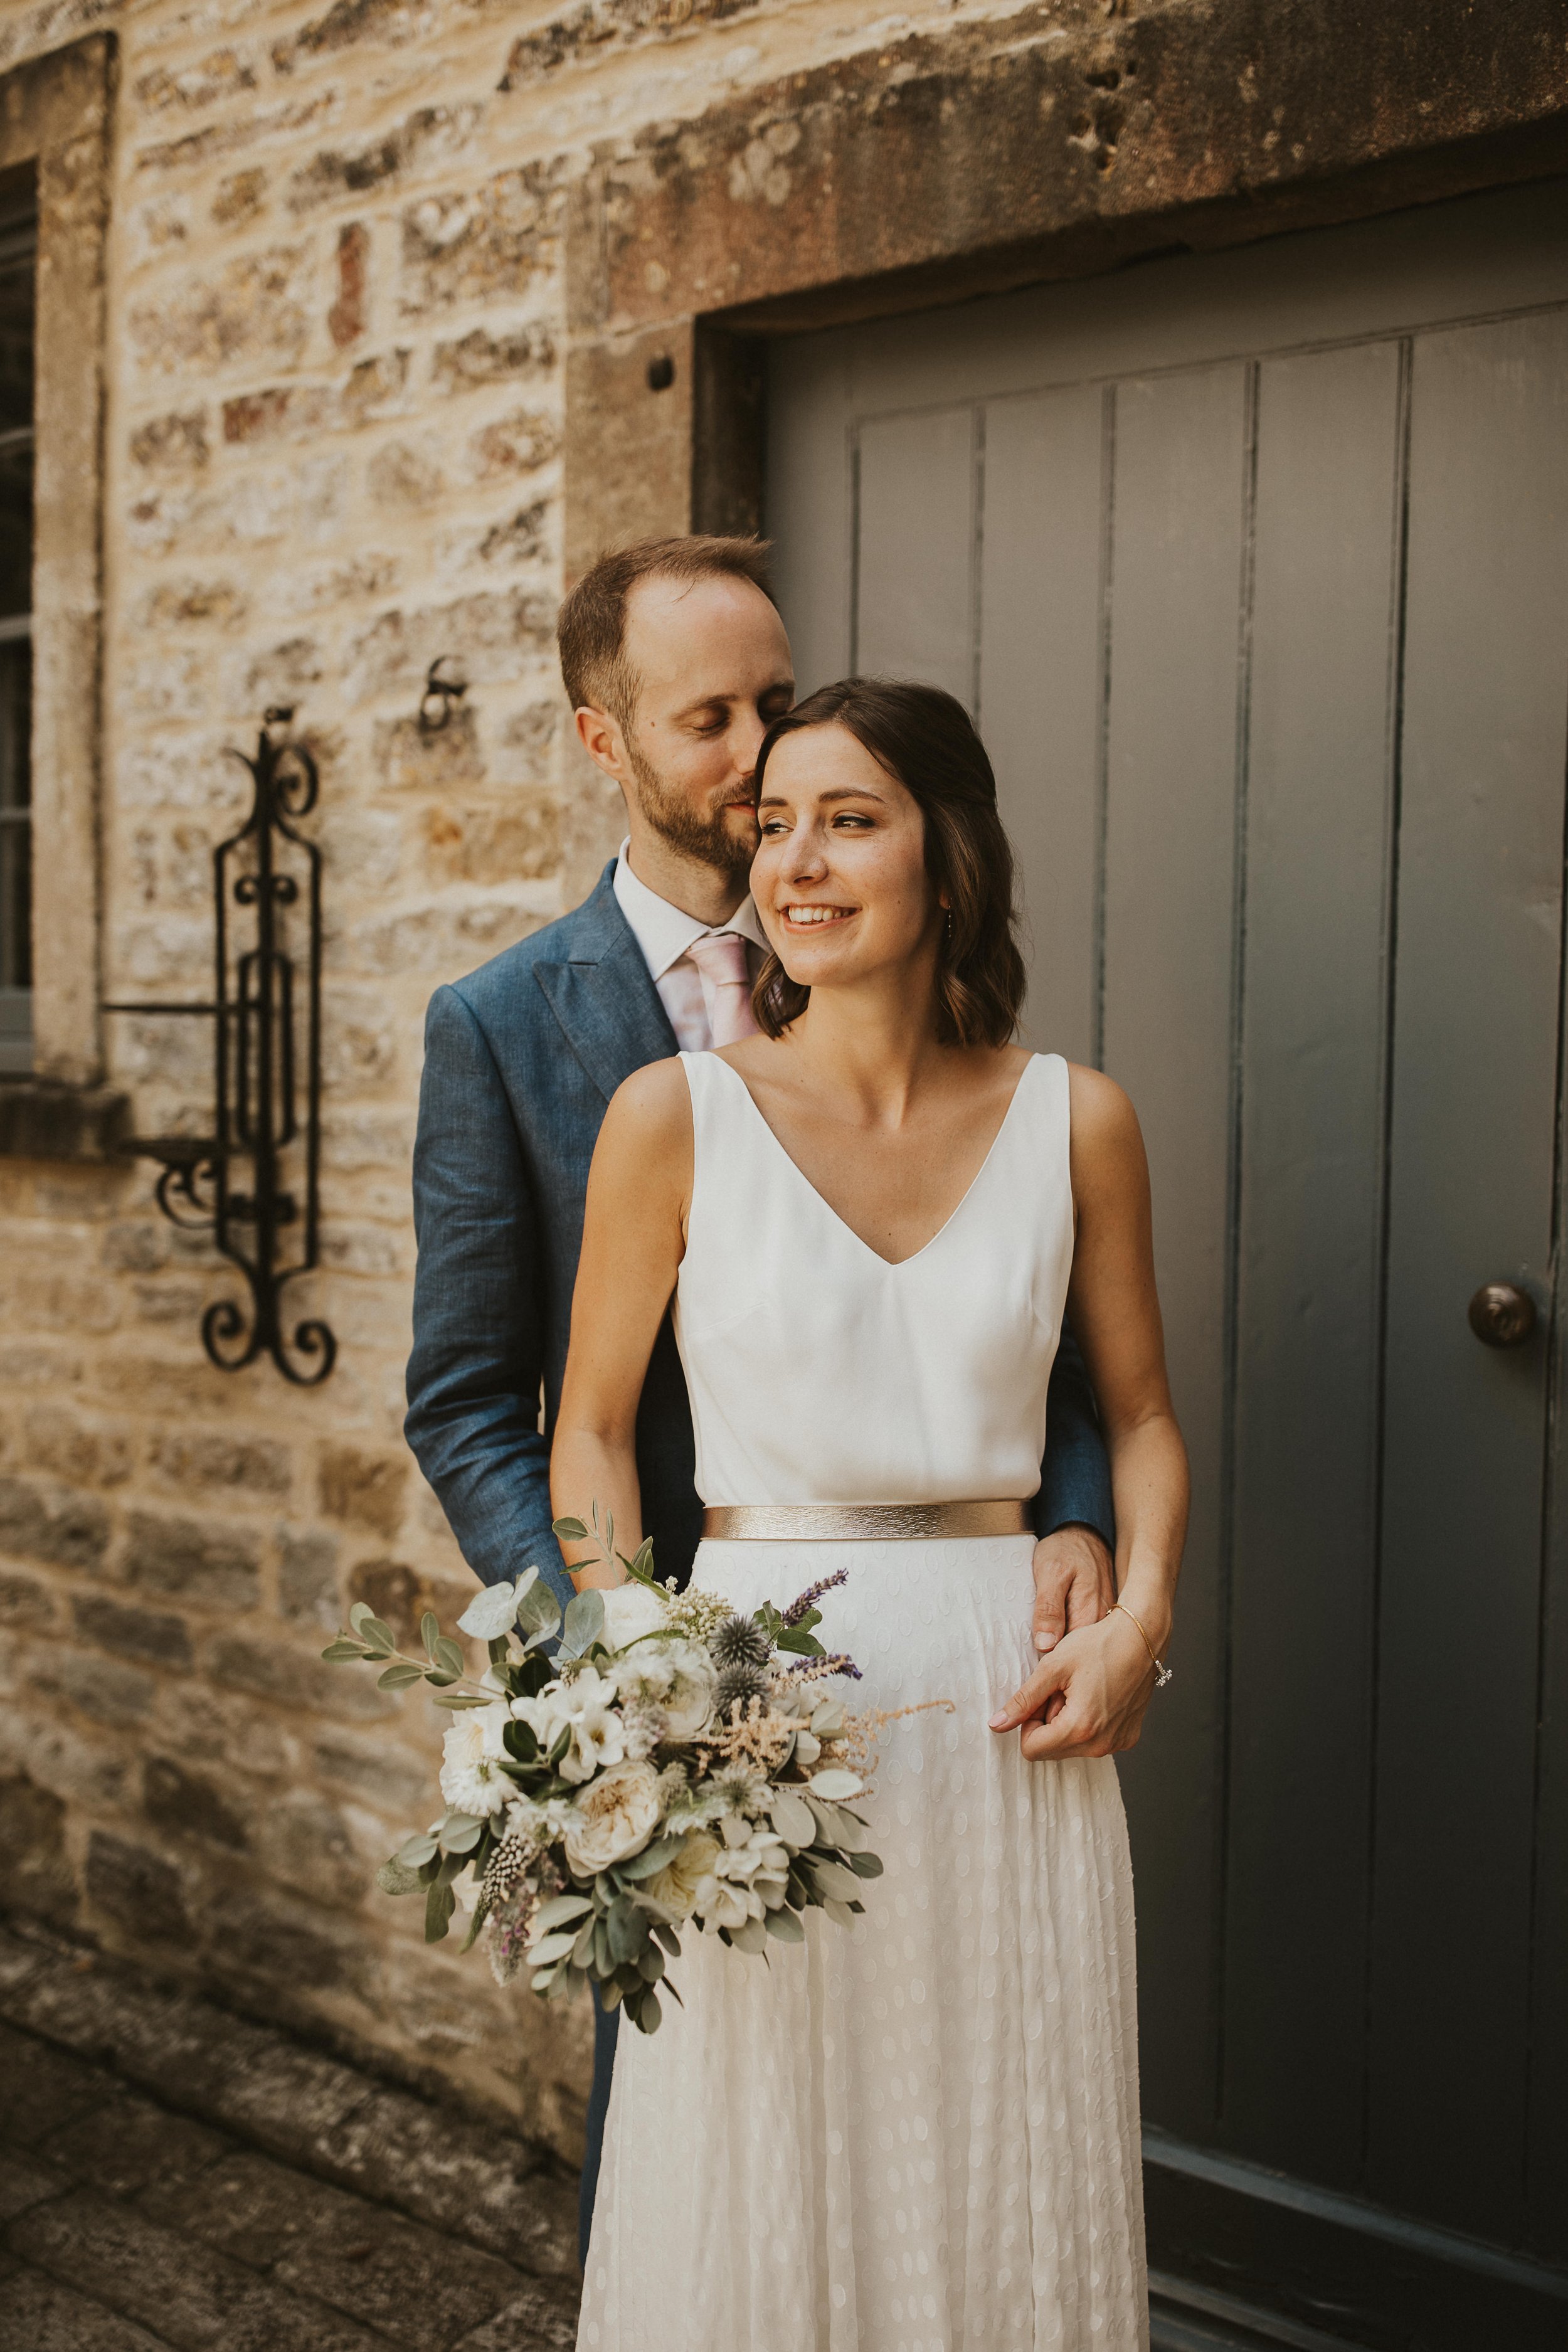
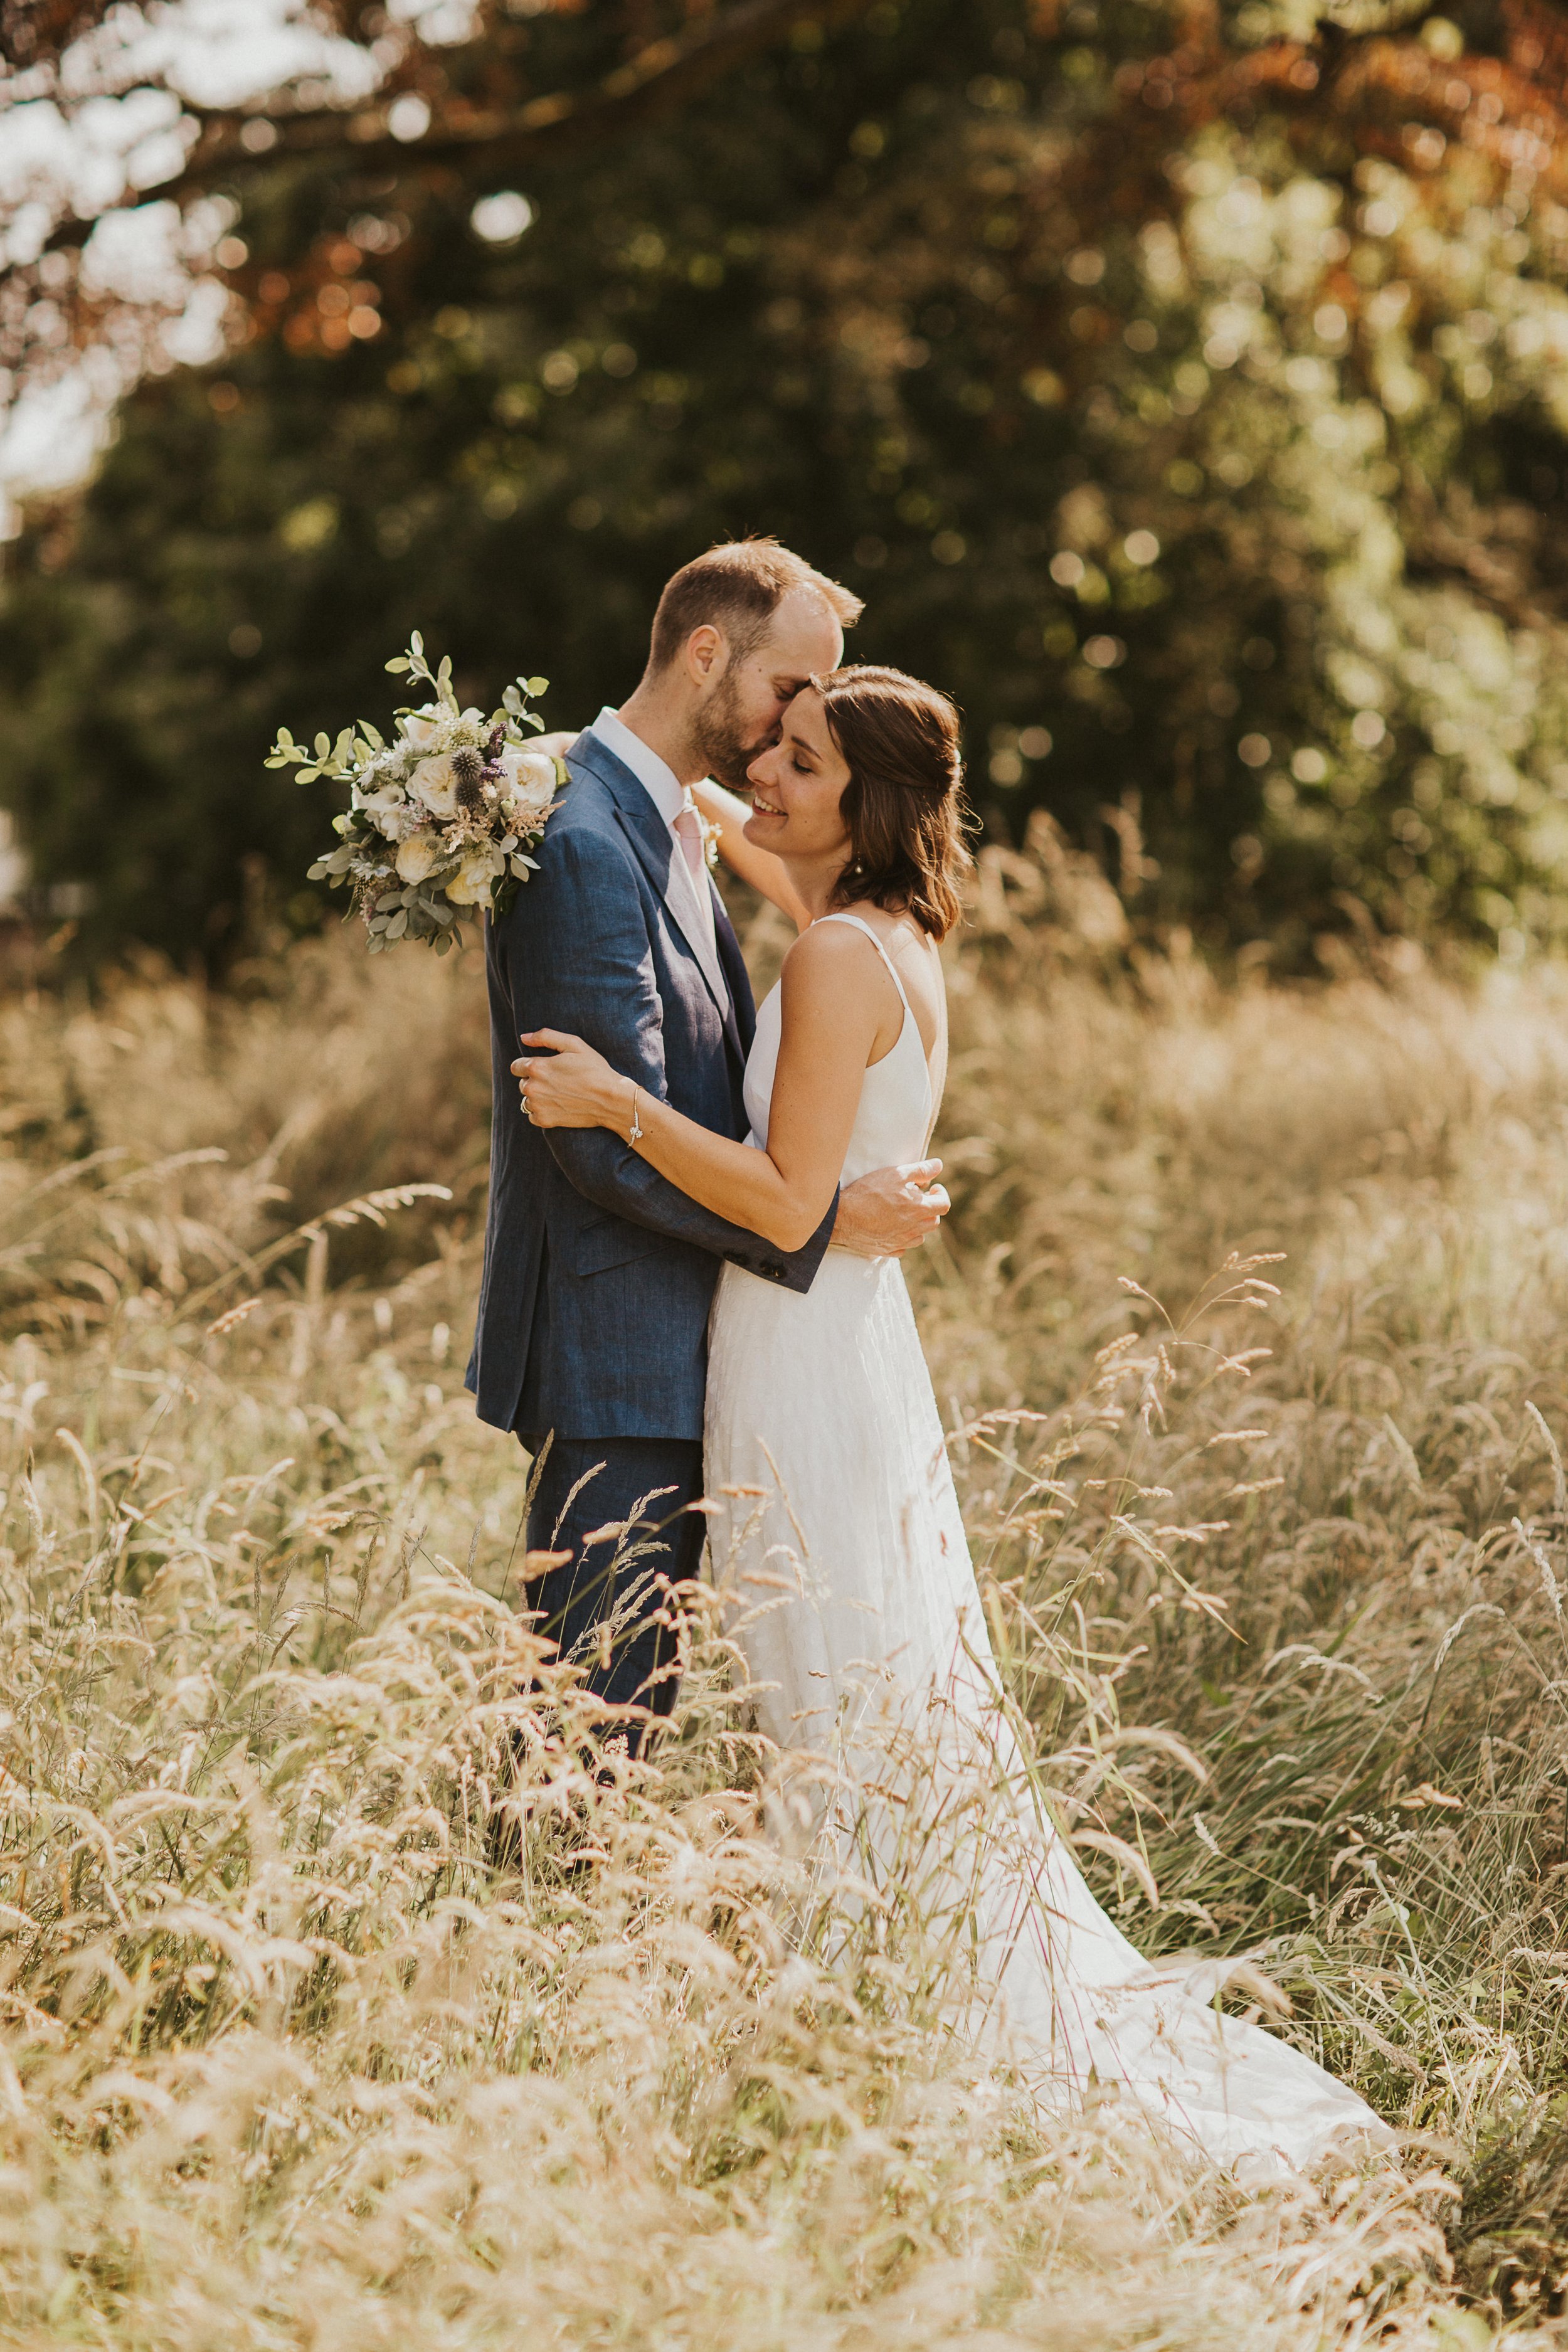
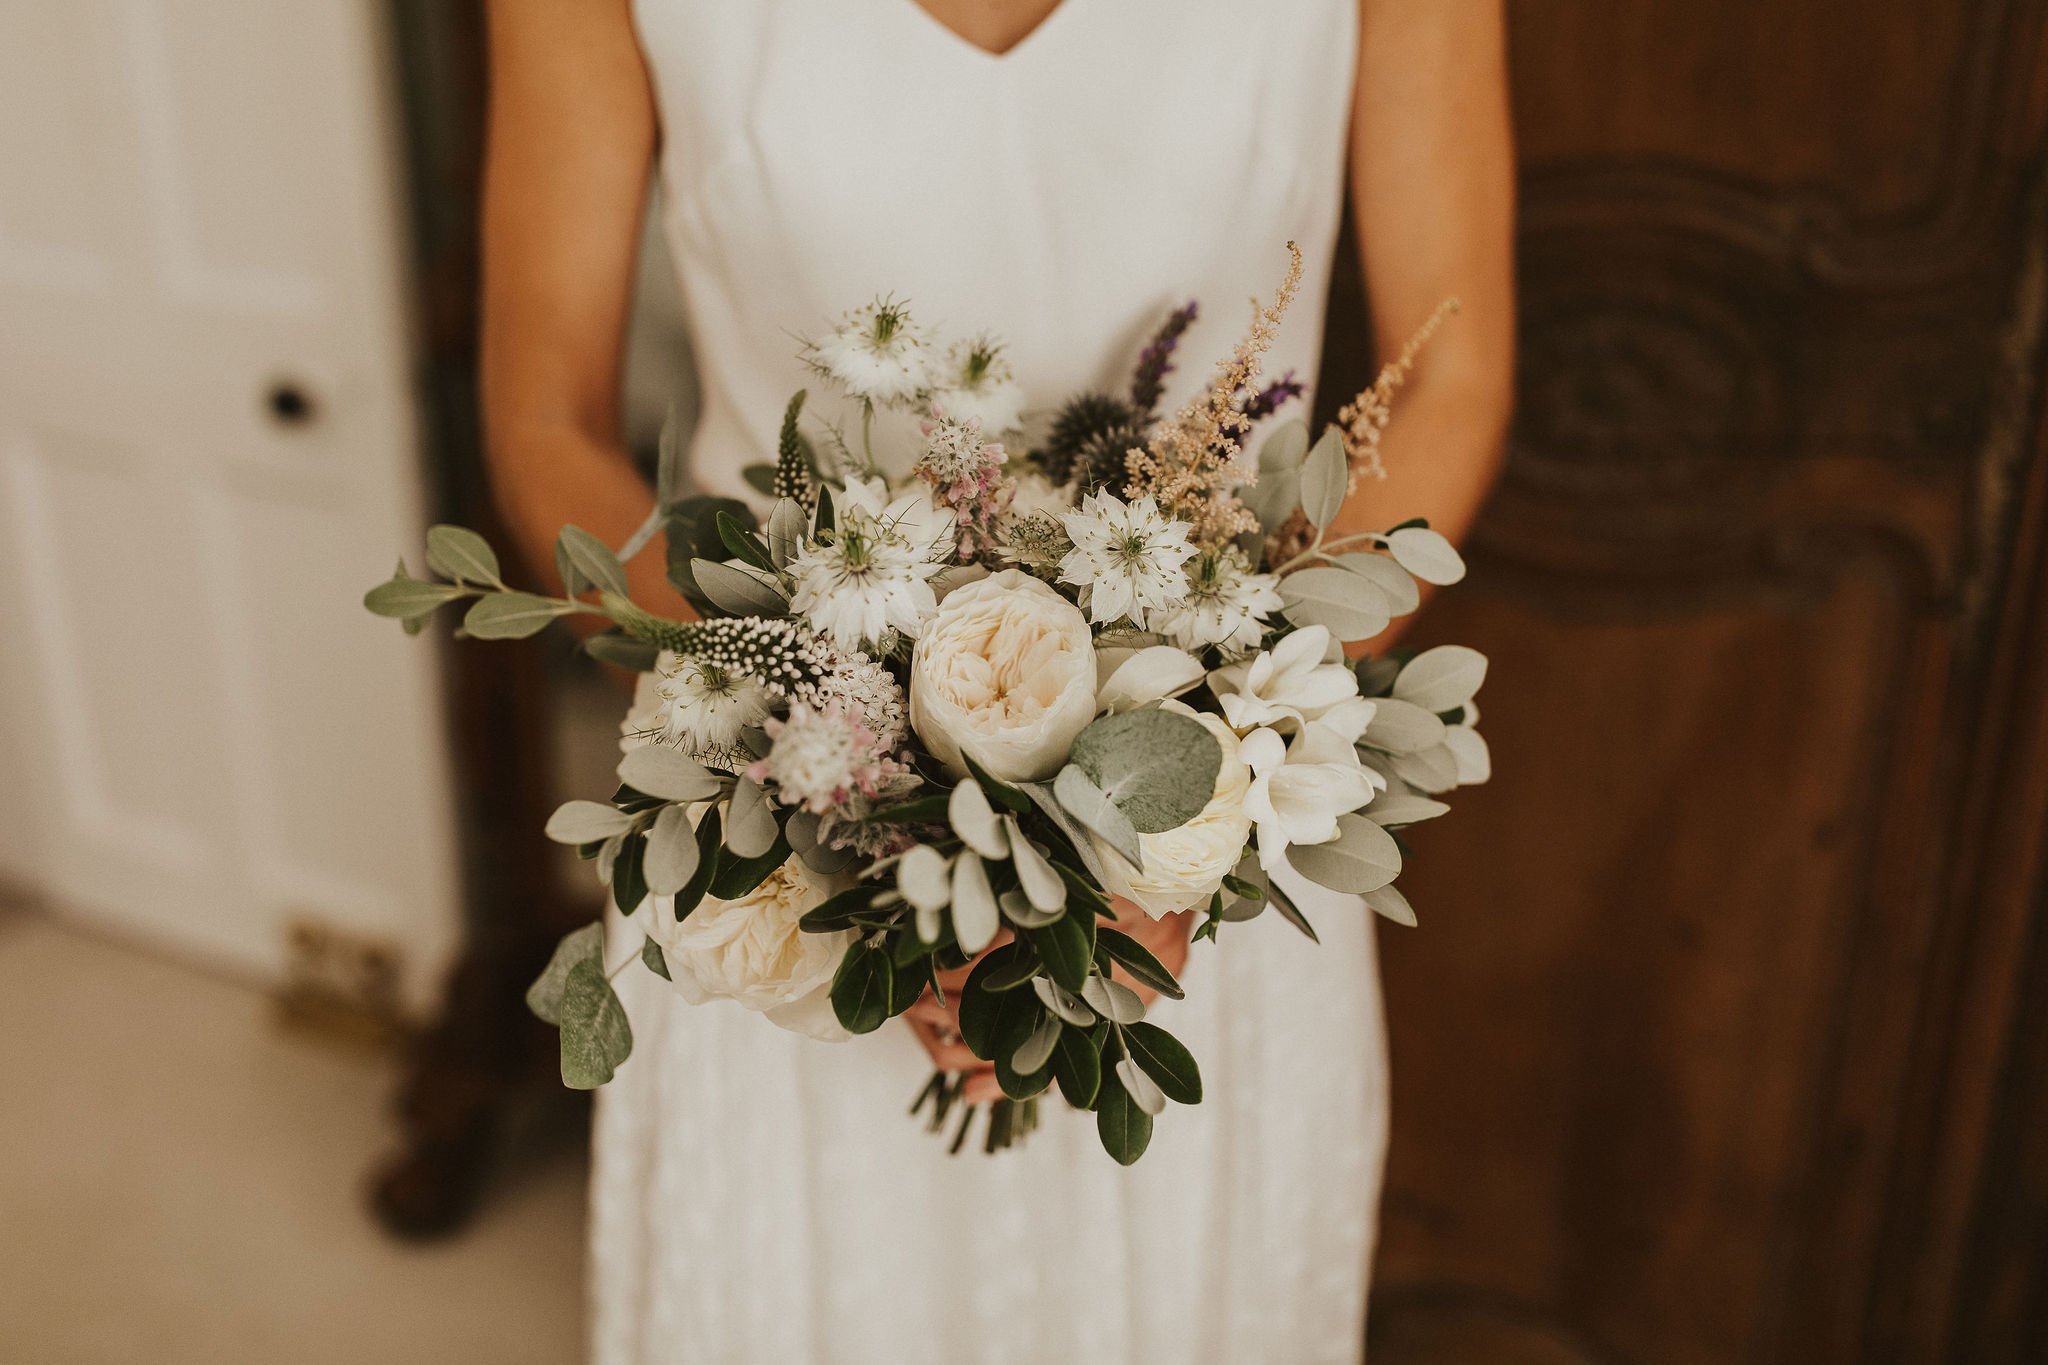
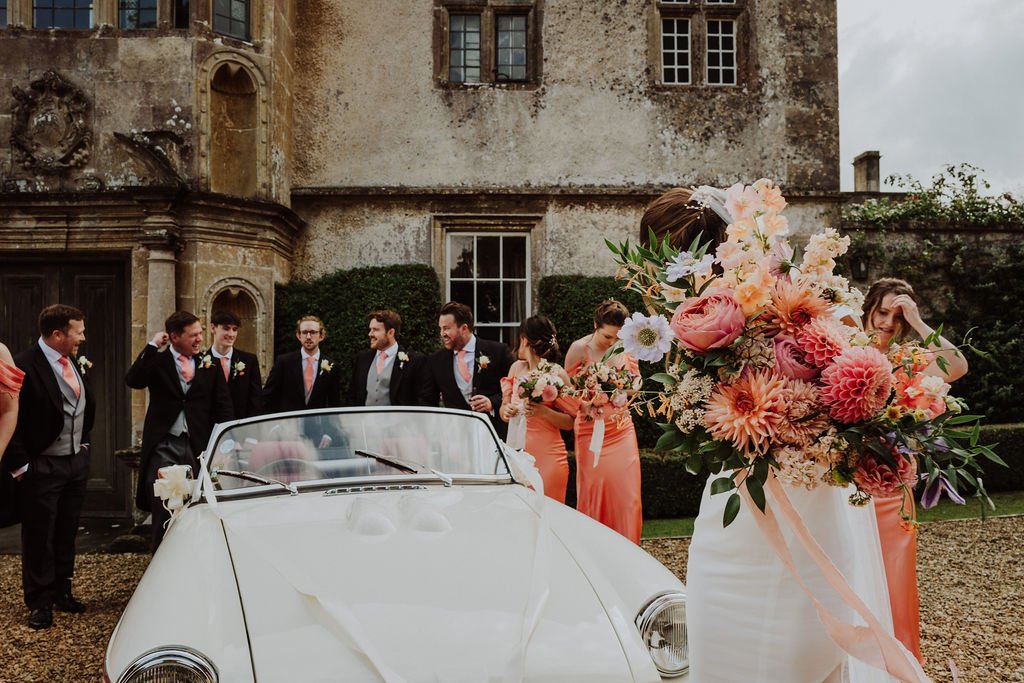
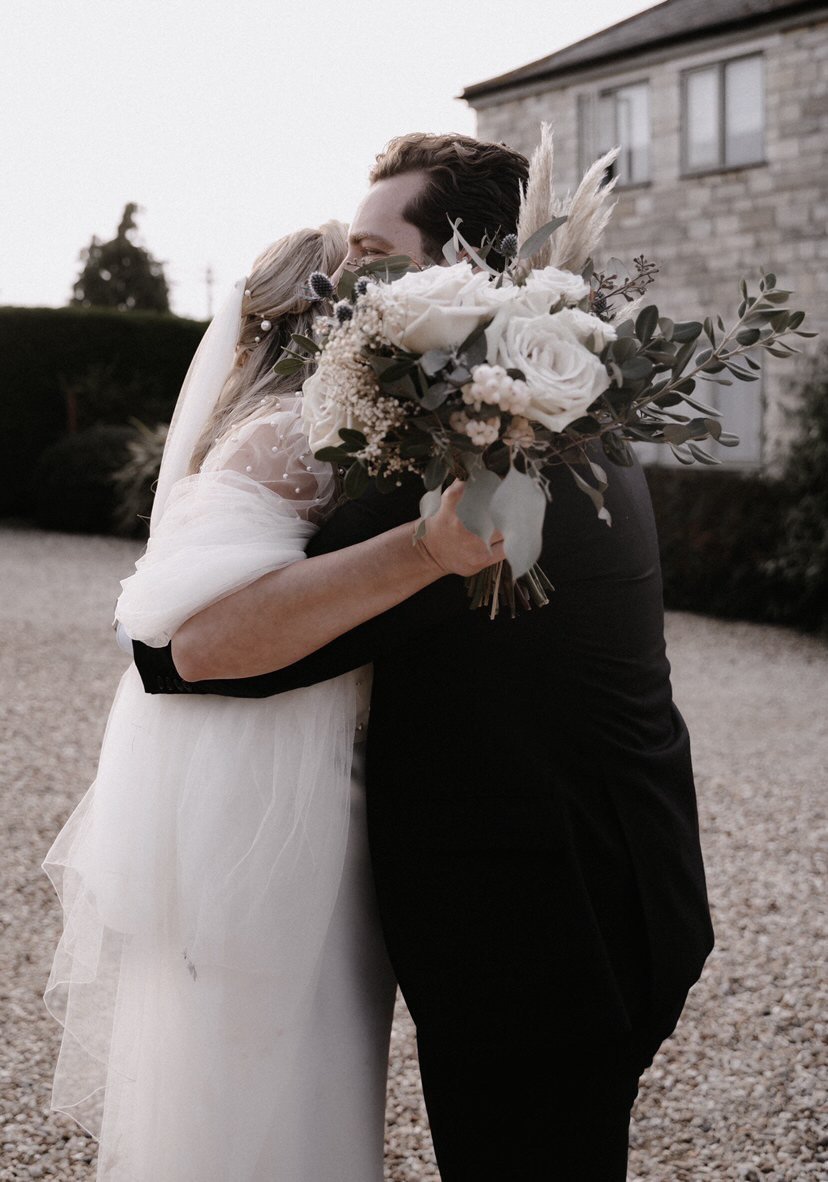
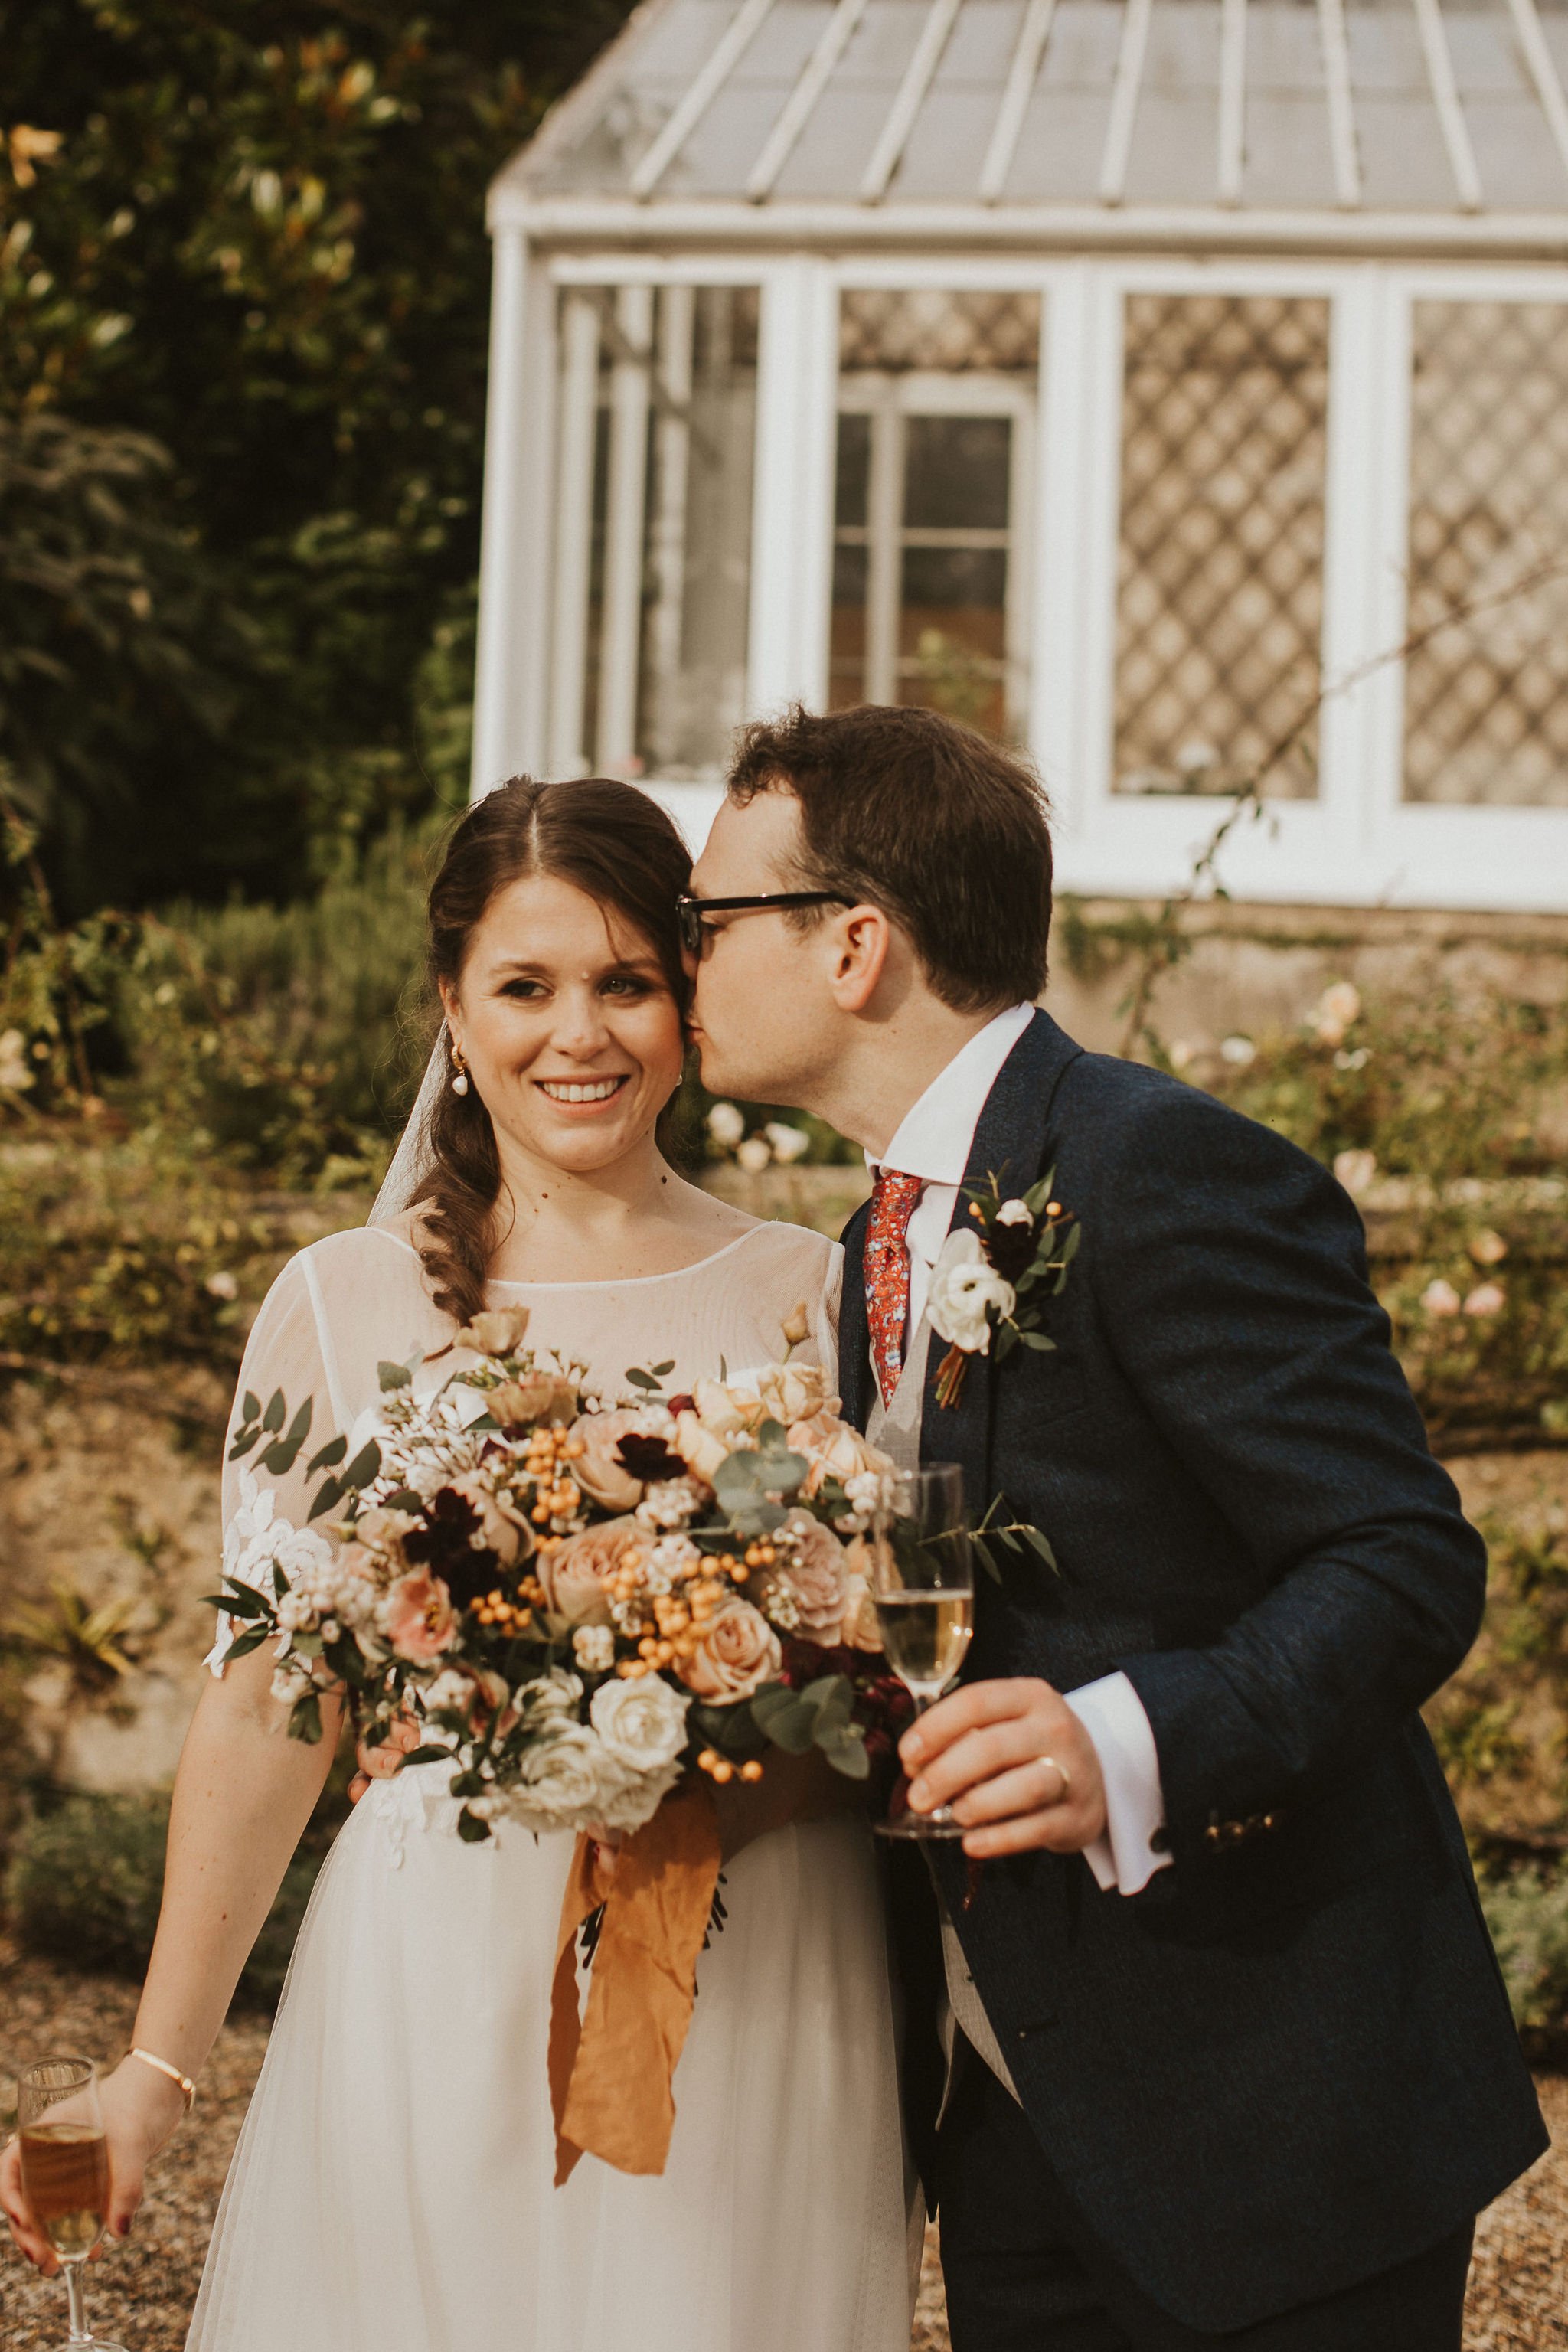
Me hugging a bride with her wedding flowers


How to choose the right wedding flowers for you

Some people know exactly what flowers they love and want on their day but most of us have no idea.  If this is you and you don’t know where to begin then start with Pinterest.  It is so visual and so easy to use.  Just open an account and type in some search words, like ‘rustic wedding bouquet’ or ‘earthy autumn tones’.  Then start collating lots of images into a board, anything that catches your eye that you like.  Consider your life, your home, your clothes, What colours draw you in and make your heart smile?  It doesn’t have to just be wedding related because it can all help to build a picture of what you want even if you don’t know it yet. 

A few days later go back to that board and take out anything that doesn’t flow with the feeling of everything else there.  Please don’t worry about what the flowers are called, that is the florists job. They will take the inspiration from your pictures and create it in their style.

This is what will give you those flowers that will feel uniquely you and that you will love forever.

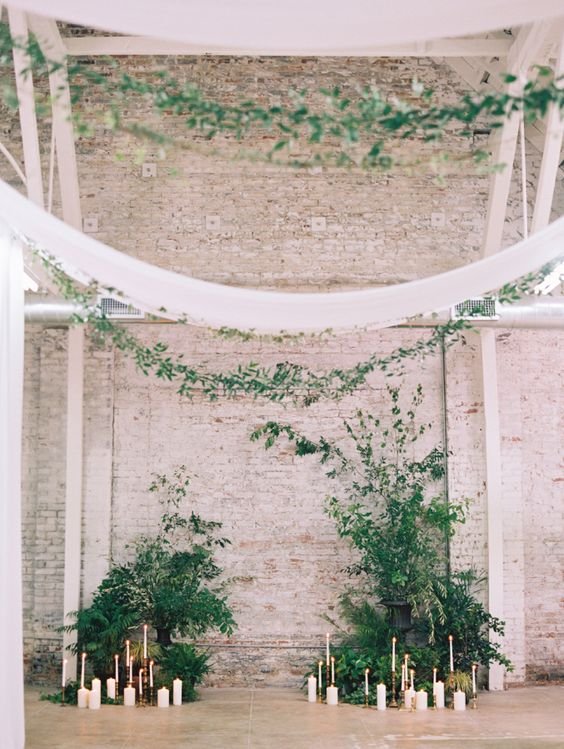
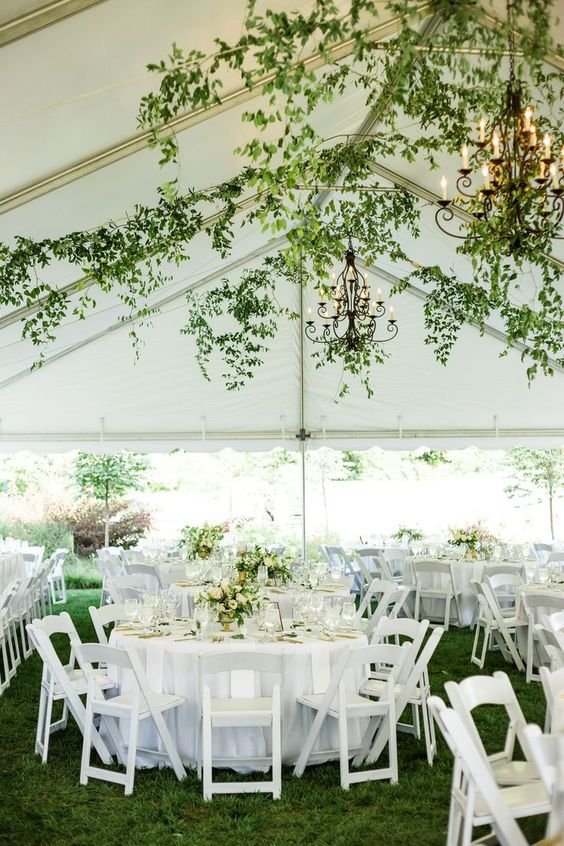
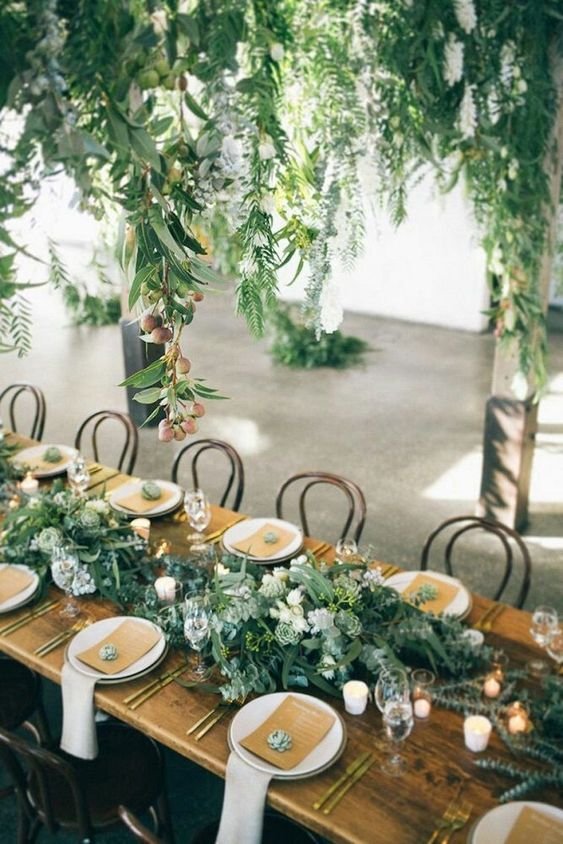
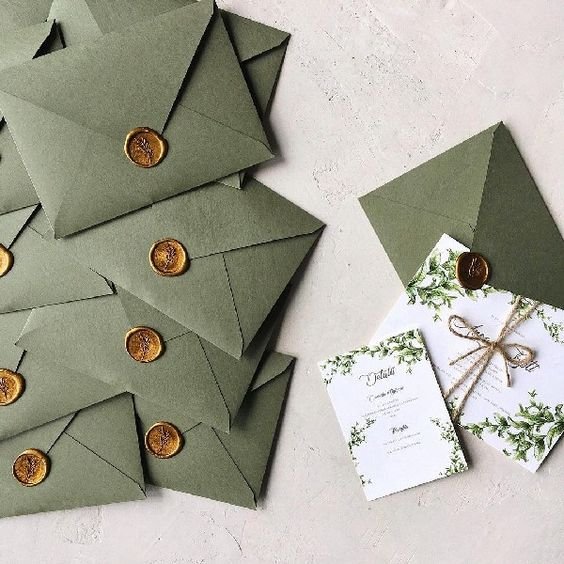
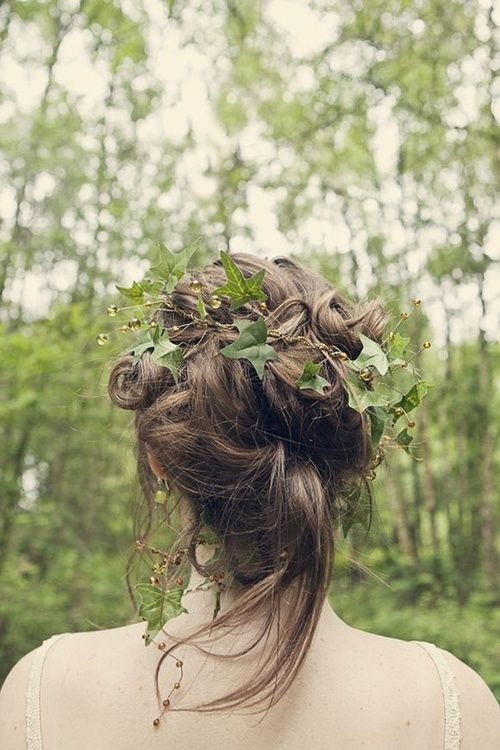
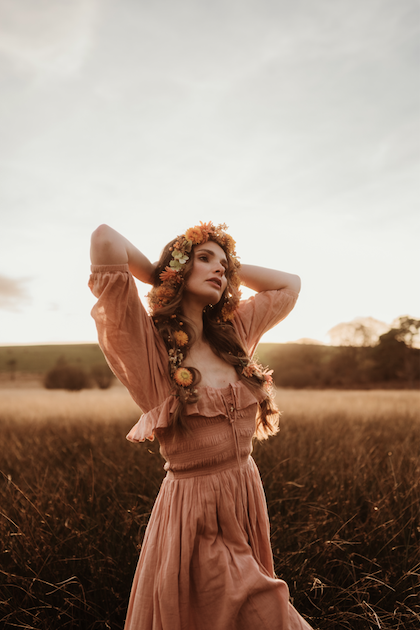
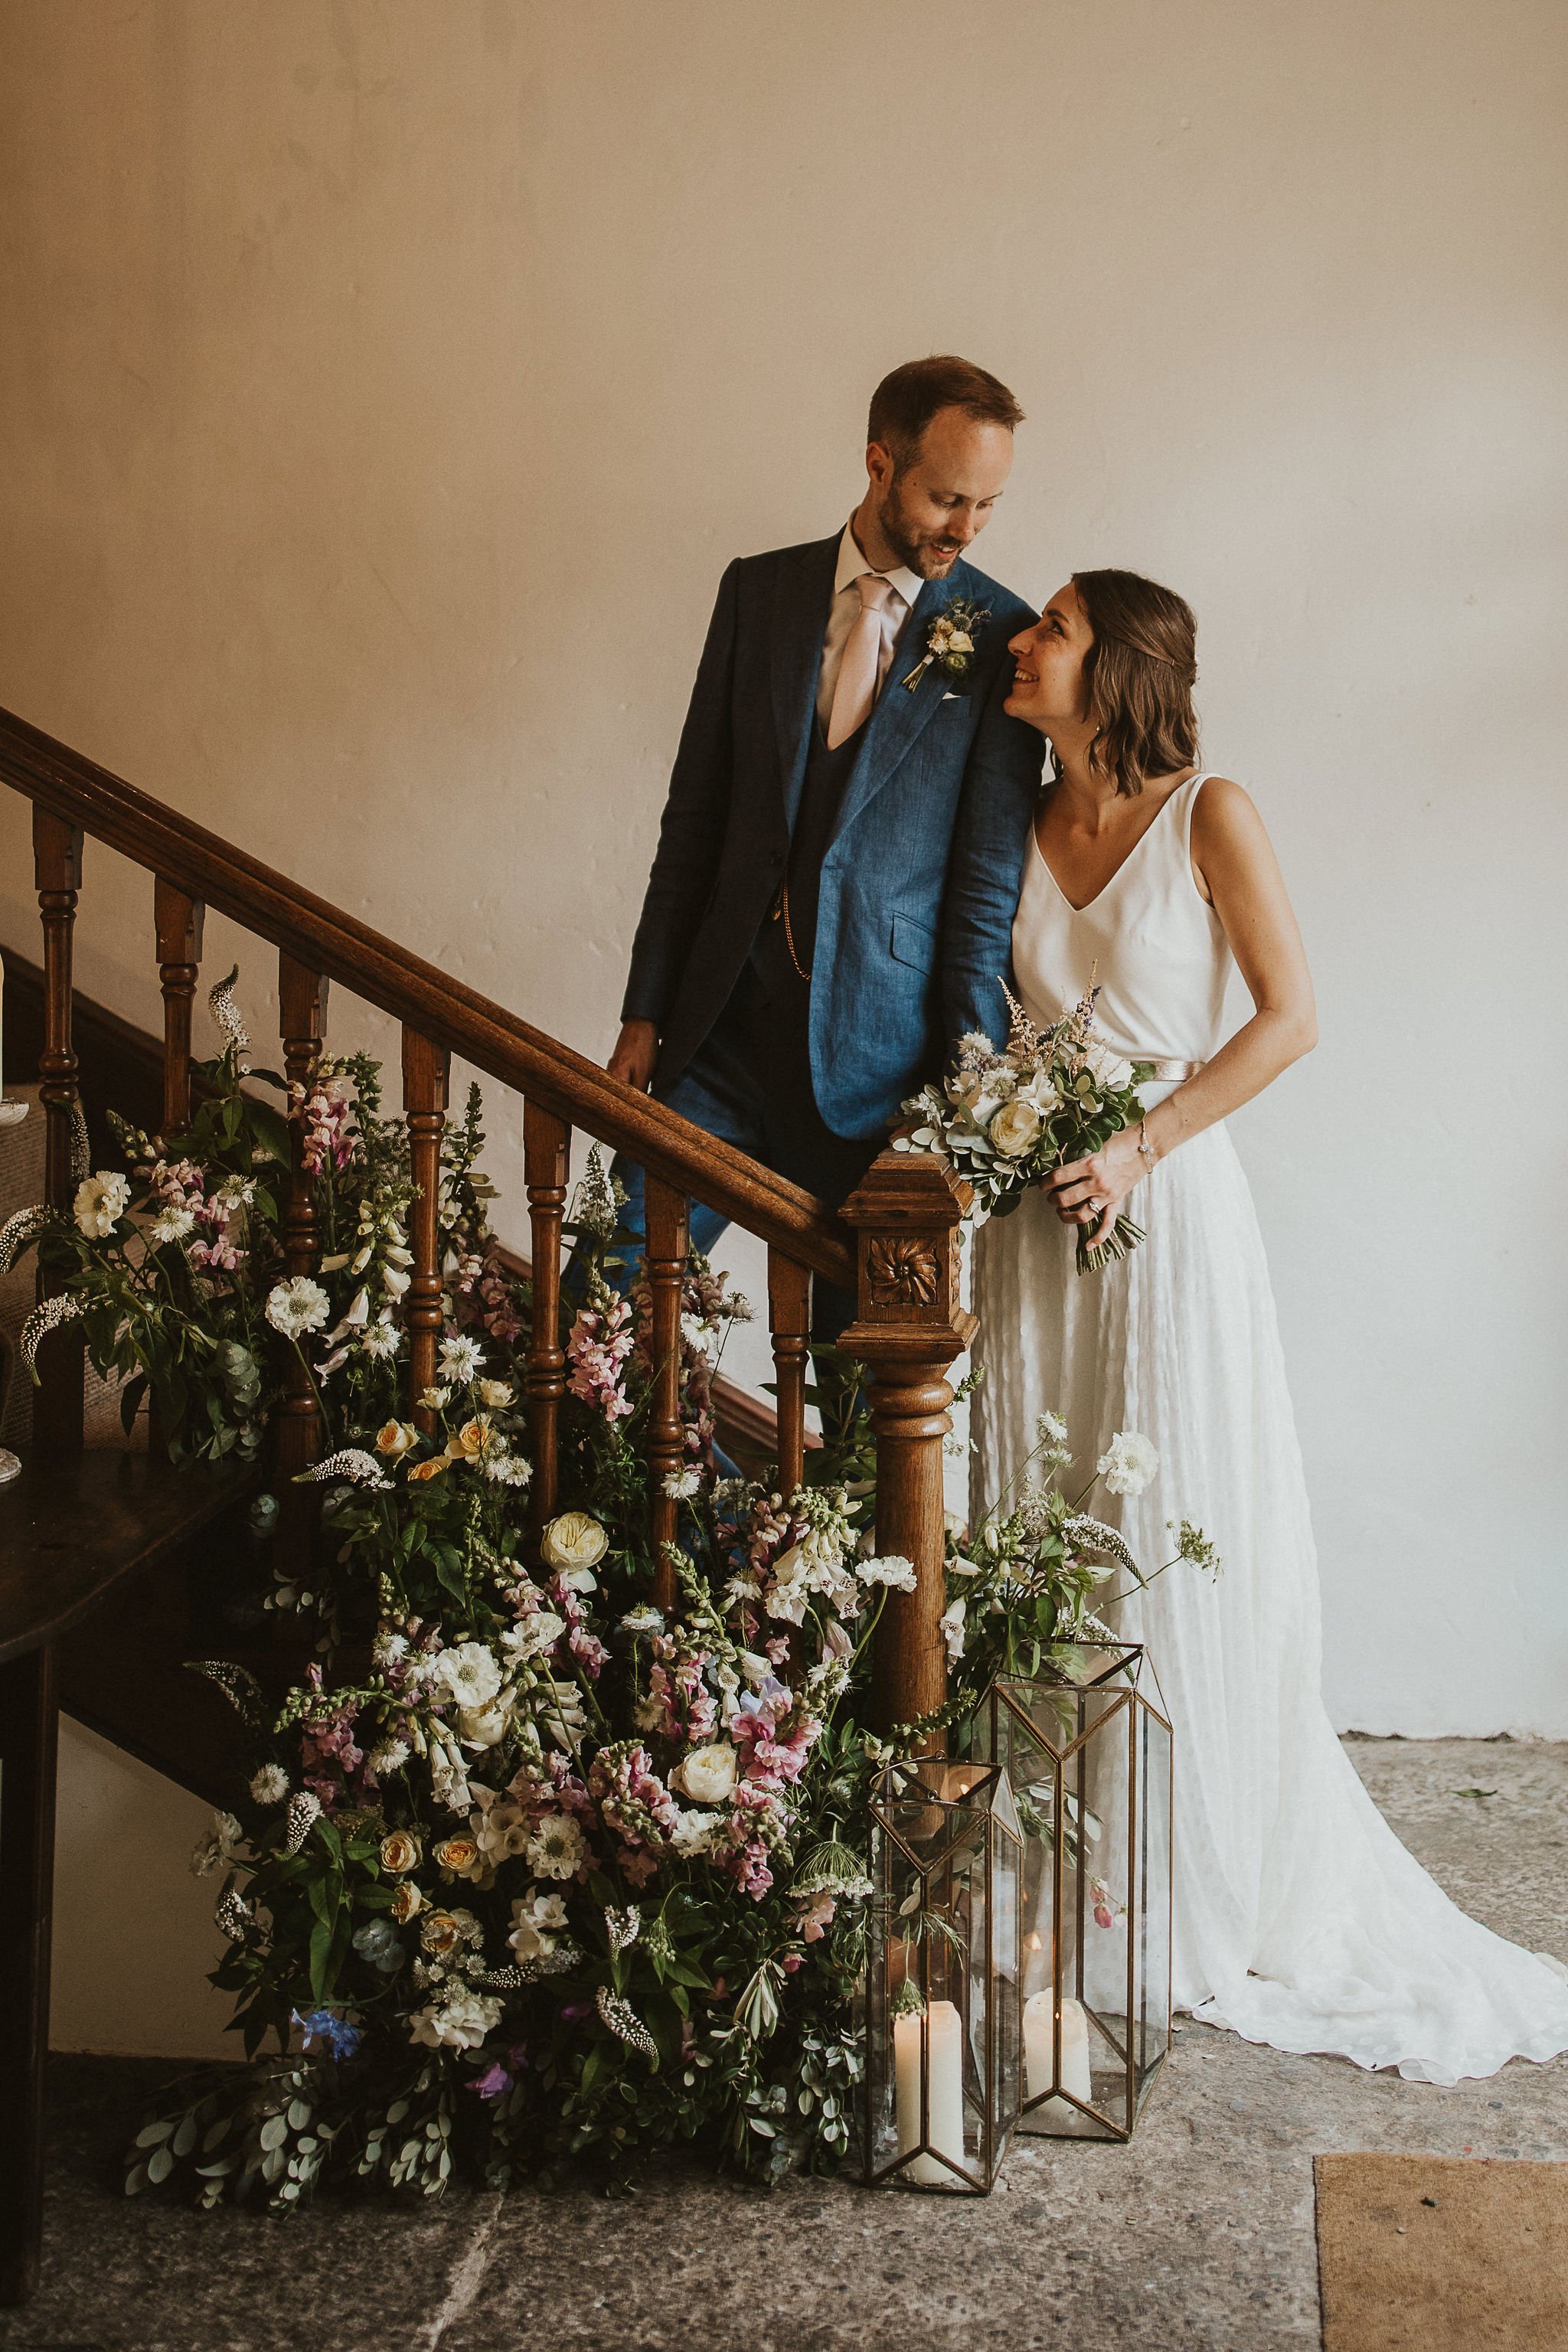
Here are a few images that I’ve saved in one of my pinterest boards named ‘Botanical Green’

Autumn flower shoot

Photography https://www.aimeelaoisephotography.com/
Model https://www.instagram.com/_catherinehudson/?hl=en

Make up https://byannabella.co.uk/

Hair https://www.abigailconstanza.com/

Flowers https://www.copper-green.co.uk/

When a photographer as amazing as Aimee Laoise contacts you and asks if you’ll provide some flowers for a shoot. You do it! And when she said that it would be at Stockhill woods then I jumped for joy as it’s one of my most favourite places to be.

There are two different types of shoots in this industry, ones that are for promoting how amazing wedding suppliers are and to show off what your wedding could be like and the other is a very inspired process, bringing alive something that feels completely different to what you may normally do. A creative vision!

I hope that you enjoy these photos as much as I do.

Autumn flower shoot

Autumn flower shoot. Photos by https://www.aimeelaoisephotography.com/

Autumn flower shoot

Autumn flower shoot. Photos by https://www.aimeelaoisephotography.com/

Autumn flower shoot

Autumn flower shoot. Photos by https://www.aimeelaoisephotography.com/

Autumn flower shoot

Autumn flower shoot. Photos by https://www.aimeelaoisephotography.com/

Autumn flower shoot

Autumn flower shoot. Photos by https://www.aimeelaoisephotography.com/

Autumn flower shoot

Autumn flower shoot. Photos by https://www.aimeelaoisephotography.com/

Wow, what a Summer of weddings 2021 was!

A Summer filled with love and happiness and parties! I have never seen so many photos from couples full of so much dancing and partying. I guess that’s what happens when you are reminded how precious life is.

I would love to blog every wedding that I’ve done this year but well, it’s just been too busy

I have the best couples. Fact! Each and Everyone of them have been so wonderful to work with and I really can’t thank them enough. Here’s just a small peek at some fabulous ones!

An Enchanted Dream at Pennard House

A magical June wedding at Pennard House

Victoria and Sam, what a wonderful couple and what an amazing wedding to have the pleasure to work on. Some weddings get you so excited as a florist and this was one of them!

They had a strong vision when they first came to talk to me and there was an underlying theme of ‘A Midsummer Night’s Dream’ with lots of foliages and everything looking natural and magical.

Pennard House worked as the perfect backdrop and as Victoria said herself ‘gave us the perfect balance of a bohemian venue with tipis, fields and forest, with the elegance and convenience of the house and coach house for the reception’.

Everything that they wanted fitted perfectly with the style of floristry that I love to create. Lots of bushy foliages to give an intimate and cosy feel mixed with rambling garden flowers and touches of wild looking flowers.

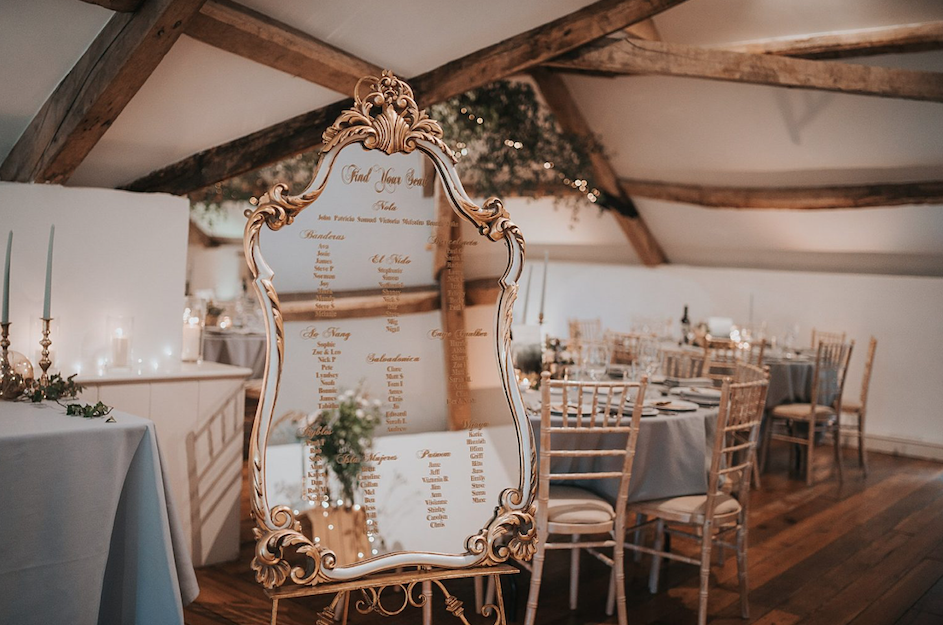
Victorias sense of style pulled everything together with antique brass candlesticks complimenting my gold mercury vases, gold tipped White feathers and wildflower favours on the tables, a mountain of fairy lights and a dreamy huge mirror as the table plan, oh and the most stunning table name cards that I’ve seen to date!

The weather on the day was a rollercoaster. One minute it was boiling hot and the next it was torrential rain which made deciding whether to place the ceremony flowers inside or out a bit tricky but, Victoria was adamant that she wanted to marry outside, so on the morning of the wedding we stuck with the decision to ‘flower up’ the pavillion at Pennard and wow, what a perfect decision to make. The incredible and unique photos by Tom Halliday say it all. I am so lucky to do flowers for such amazing couples!

Planning details

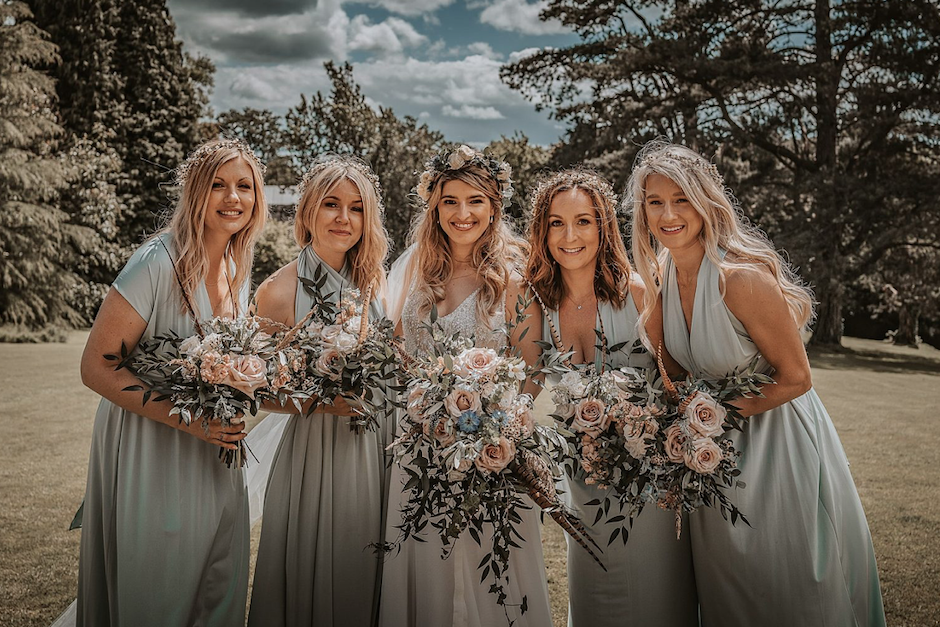
‘Quicksand’ Roses complimented the pale sage Green of the bridesmaids dresses and were mixed with various textured dainty wild looking flowers and lots of foliages. The touch of Blue in the Nigella just added that little something extra.

Victoria looked like a goddess in her crown and there was much discussion about it being ‘not too big and not too small’

They had bouquets, buttonholes, hair crowns, table flowers, ceremony flowers, stair flowers and reception foliage installations. Budget required £2500 - £3000.

You can find more details and photos on the ‘love my dress’ page

Pennard and Tom Halliday.png
Pennard and Tom Halliday2.png
Pennard House and Tom Halliday.png
Pennard House and Tom Halliday3.png
Pennard House and Tom Halliday5.png
Pennard House and Tom Halliday4.png
62268292_483702162437430_7066874910957038907_n.jpg
20190608122147_IMG_0966.JPG

Pastel Nudes at Wick Farm

May wedding with a pastel palette of Pinks, Peaches and Nudes at Wick Farm, Bath

There isn’t much that doesn’t work at Wick Farm but this colour scheme of palest Pinks and Greys gave a real soft elegance. It is one that was done a few years ago but I still enjoy looking at the photos now.

The foliages used were mainly silvery Greys with Mint, Eucalyptus, and one of my favourites ‘Stachys Byzantina’. It’s common name is Lambs ear and it has the most decadent appearance with the softest feel. At this time of year before it flowers it is just wonderful.

The Groom was from New Zealand and so wanted a fern included in his buttonhole. We used Asparagus fern which gave a wispy look along with Helichrysum to add the silver colour.

The cake, they would say was a disaster, I would say was amazing. Unlike today the temperature was hot, really hot. A family member had made it and the cream filling just melted in the heat but I loved it looking like that!

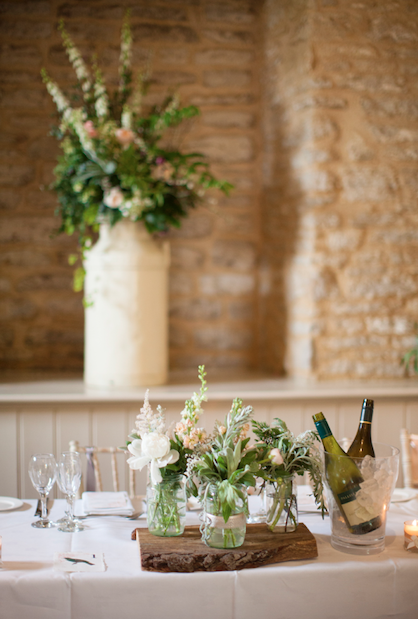
The alcove at Wick Farm is bigger than people initially think and it needs something big to decorate it. The old cream milk churn is a firm favourite that lots of couples choose to fit in with the barn setting and fill the space.

Planning details

An abundance of Roses including the beautifully fragranced David Austin ‘Juliet’ sit with Stocks and a little wax flower. The mix of textured foliages and the fluffy Astilbe allow a quite neat bouquet to look more relaxed and stop it looking too ‘dome’ shaped.

The light airy feel of the photography by Kerry Bartlett really suits the colour scheme and gives the feeling of a lovely long hazy Summer.

They had bouquets, buttonholes, table flowers of jam jars, cake flowers and the alcove arrangement. Budget required £700 - £900.

Wick Farm May wedding
Untitled5.png
Wick Farm May wedding

Spring wedding at Hamswell House

Glorious May wedding at Hamswell House

Laura and Jonathans wedding was one of those that you know you are going to completely enjoy putting together. They came to me via a recommendation from Hamswell House and it was one of those weddings that you didn’t want to have to wait a year to do!

Their ceremony was being held at The Assembly Rooms and they very sensibly decided to put their money into one focal flower feature rather than some chair ends and a smaller signing table arrangement. Your ceremony is going to be where most of your photos are taken so although it’s lovely for the guests to be able to enjoy flowers on the chairs, I always recommend focussing your money where the photos that will end up on your walls are being taken.

We opted for a split arch to suit the shaping of the pillars in the room and what a magnificent room it is. We also discussed moving it after the ceremony back to Hamswell House. This option isn’t always feasible but because Hamswell House has so much space it worked effortlessly. I’m so pleased that we made it work because it made for some incredible photos both at the ceremony and back at Hamswell House.

The marquee was dressed with lots of greenery and a central chandelier of hanging foliages above the couples table whilst the guest ones were kept elegant with a gold mercury vase that looked so beautiful with the Cappuccino colours.

Hamswell House is one of those dream venues where there is plenty of space and time for both yourselves and also for your suppliers and I cannot recommend it enough if you’re looking.

Planning

Roses were the main feature of this wedding. ‘Cappuccino’ and ‘Cafe Latte’ Roses supplied both the warm colour and the incredible fragrance. They were mixed with a few touches of White Wax flower and Stocks. Then alot of mixed foliages giving a strong background.

They had bouquets, buttonholes, table flowers, marquee dressing and the split archway. Budget required £1800 - £2000.

The incredible photos were taken by James Fear photography (click for info)

Amazing venue is Hamswell House (click for info)

Ceremony was at The Assembly Rooms, Bath (click for info)

The Assemble Rooms Bath.  James Fear photo
2)James Fear photo. LauraandJonathan-50.jpg
2)James Fear photo. LauraandJonathan-61.jpg
2)James Fear photo. LauraandJonathan-93.jpg
Hamswell House.  James Fear photography
Hamswell House.  James Fear photo

Spring wedding at Orchardleigh House, Somerset

An opulent April Spring wedding

Ellie came to me by recommendation which is always great! They had chosen Orchardleigh House because of how many guests you can have to stay overnight. They originally wanted to marry in the Church within the grounds but their guest list soon grew and so they changed to Lullington Church instead.

Ellie changed her mind quite a few times about the scheme. Infact I think she completely changed about three times and when I say changed, I don’t mean added a flower or colour, I mean dramatically changed from bright colours to deep colours to eventually Whites and Greens! It can make for a tough decision when you like so many things and Pinterest shows so many options but I often say to look at your home. Is it full of minimal chic styles? Is every room a different colour? When you look at paints are you more drawn to Greens? What about the seasons? Which is your favourite?

She wanted lots of decoration and we were able to also add in some beautiful textures from the garden like Solomans Seal which have a lovely arching shape. They didn’t want to spend too much money in the Church but wanted a statement piece for photos so we opted for a simple delicate arch for them to marry under. As it was late April, the days were getting longer but they could still be dark at times so we included tealights within the table flowers to feel atmospheric and cosy.

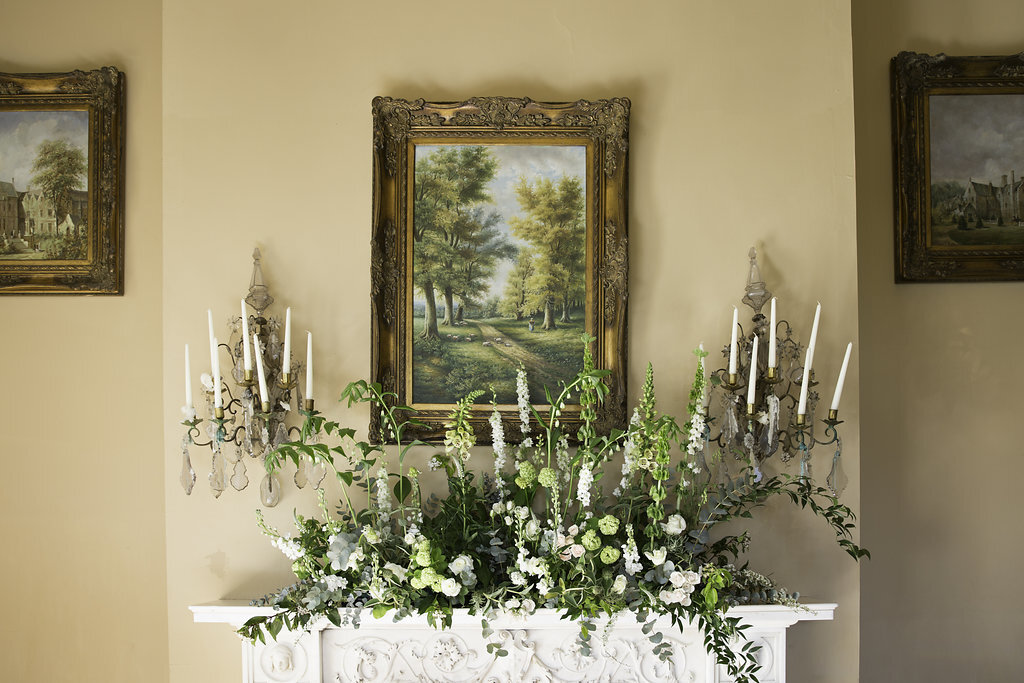
Ivy garlands on the pillars and big statement fireplace arrangements helped to bring the room in because she wanted lower arrangements on the tables. The Gold mercury vases matched the opulence of the room and the decor.

They were such a fun and lovely couple to work with and I completely enjoyed being a part of their wedding.

Planning

Roses were mixed with Ranunculus, Lilac, Viburnum and Spirea

They had bouquets, buttonholes, table flowers, staircase installation, Ivy garlands on the pillars, fireplace arrangements and a Church arch. Budget required approx £2700 - £3000.

All the stunning photos below are by Lucy Tanner

Orchardleigh House.  Spring wedding
Lullington Church arch.  Orchardleigh House
Orchardleigh House.  Spring wedding

Annuals for florists to use as cut flowers

The main annuals that I use as a wedding florist for cutting

One of the main subjects that florists wanted to know more about on my giveaway was annuals. What to grow and any tips.
So, I thought I’d share on a blog what I’ve been growing over the past 7 years and my favourites that are easy to grow and don’t require much care.
I start a lot of them off in autumn so that I have some earlier flowers to use in weddings but as it’s currently April I’ll share what I’m sowing now.
I don’t have a lot of space and I’m not a ‘grower’ so I choose annuals that give me a lot of filler flowers. I don’t use them as part of my wedding flower budget but I do use them in weddings if I feel that the budget hasn’t gone as far as expected, or on shoots so they don’t cost me a fortune and on Instagram to fill in on the times when I don’t have weddings.

Mass of Ammi used at a photoshoot

Mass of Ammi used at a photoshoot

I can’t give you a date when I start them because last year it was probably around the start of March but this year I’ve only just tentatively started in the past two weeks because it’s been so cold. I do have a 6 x 8ft polytunnel but you can start them in your windows or once before I had the tunnel, I made a makeshift greenhouse with things I had in the garden. I used pallets to keep them off the floor that were covered in cardboard, then bricks to make sides that were covered with fleece with glass on the top. It’s just to give them some protection and warmth for the first few weeks before the last frosts have passed which can be up to the first week of May!

Cornflowers and Ammi.  Photo taken by Oxi photography

Cornflowers and Ammi. Photo taken by Oxi photography

The annuals that I grow can just be planted straight outside and they won’t mind the few frosts. I’ve read that this can actually give much better stronger results but I have found that I’m too much of a control freak and I like to know what’s going on and to be able to see them and care for them.
So, to what I’m sowing now. About two weeks ago I started Ammi, Cerinthe, Cosmos, Cornflowers, Field scabious and Linaria. The last one ‘Linaria’ was a new one that I tried last year and I just loved it enough to do again. The other one that is new for me is Agastache Rugosa (Korean Mint) I actually planted this into my borders rather than my cutting bed last year. It was such a beautiful flower and the bees absolutely loved it so this year I’ve sown more but it’s really just for me and the bees, I doubt I will cut from them.

I only grow around 10 of each of these because I don’t have enough space for any more but that tends to be enough for what I need. I’d love to grow more but my kids aren’t quite old enough yet for me to get rid of their climbing frame and dig up the grass for more beds. One day!
My biggest struggle with growing is Easter holidays! In normal times, we go away for a few days with the kids and this is usually when the seedlings are at the prime time for needing looking after and either covering with fleece on freezing nights or watering lots on hot days (another reason why I’d like to try directly sowing outside)
I also tried Zinnias for the first time last year and found they were incredibly hard working and gave so much! I won’t sow these until the middle of May though and I plant them in the tunnel as they are more tender than the others.
Lastly, some tips that I’ve learnt over the years. I have a small three tray heat mat and it really helps to just get them going when March temperatures can be so erratic. If you can be patient then wait until the Spring equinox (which was 20th March this year) before you start sowing. That’s when the days officially start getting longer and you will have a much higher chance of success.
All of the annuals mentioned at the start germinate within a week if they’re at the right temperature and sown at the right time and the Ammi, cornflowers, field scabious and Cosmos all need staking. Put a big stake in when you plant them out and tie them in as they grow otherwise they all start squashing each other once they get taller. Although one year I just didn’t get around to staking my larkspur (haven’t mentioned them here as I sow them in autumn) and look what it meant I could make with them.

Larkspur, Calendula, Covent garden Gyp and Roses all grown in my garden used for an instagram photo

Larkspur, Calendula, Covent garden Gyp and Roses all grown in my garden used for an instagram photo

Once planted out, other than tying in, they don’t need much care. They benefit from regular watering because their roots don’t go very deep and a weekly feed always helps along with deadheading but to be honest I don’t always get time to do this and they’re fine (they will just be better if you can)
As I grow these annuals each year I make sure that I collect the seeds in Autumn because why would you want to pay for more when you’ll have lots!

Finally, if I do have any flowers left that I haven’t been able to use then, I dry or press them.

These are my main stay annuals for cutting that are easy to grow, require little care and give lots! I think that the best thing to do is to start. You’ll find what you like and what you want to grow again next year. I hope that’s helpful and if you have any questions then just ask.

Linaria Maroccana

Linaria Maroccana

Mass of Ammi in my rebrand photoshoot

Mass of Ammi in my rebrand photoshoot

Ammi, Cosmos, Field Scabious and Chive flowers

Ammi, Cosmos, Field Scabious and Chive flowers

Ammi, Cosmos, Field Scabious on a photoshoot

Ammi, Cosmos, Field Scabious on a photoshoot

Dried and pressed larkspur petals

Dried and pressed larkspur petals

Spring flower photography

Making my own backdrop for flower photography

I always want to do better, I love learning new things and I’ve been seeing a lot of stunning backdrops used on Instagram for flower photography. Until now I’ve always used a wall inside or out to photograph against. So, I thought that I’d give one a go. Now, it would obviously be easier to go on a course but, well, that costs money, so I looked at a few you-tube videos. There’s only so many that I can watch before I feel like I’m being told the same thing in different ways but not how to actually do it and I find that the best way to learn is to just give it a go!

I had a cheap canvas that I’d bought last year and had taken some photos on but as an amateur I find White so hard to photograph. It always either glares on blurs or both.

65131729_683674962072472_383749926061685841_n.jpg

I heard in lots of the videos that the backdrop needs to be ‘primed’ first before painting. Now, my experience in art is very limited so I didn’t really understand what that meant but it seemed that a canvas is already primed so I just started painting.

I had some normal house tester paints in the shed and as the canvas was small thought they would do. As it’s Spring I thought pale Blue and Yellow would look pretty with the undertone of Green suiting the flowers. I had seen people using rollers but I didn’t have one small enough and so thought a big brush would do the job.

DIY painted backdrop for flower photography

DIY painted backdrop for flower photography

I decided to paint a very very watered down mix of the Blue all over the canvas first using the brush and let it dry. It was a bit too pale and so did another coat. I then watered down some Yellow and tried to paint areas over the top.

Erm, well, that didn’t quite work. I just ended up with lots of lines and it looked a bit ‘muddy’

DIY painted backdrop for flower photography

DIY painted backdrop for flower photography

So, then I tried ‘dabbing’ instead of painting. With some kitchen towel, I used the watered down mix and lightly dabbed it just on the Blue areas. It probably took about another 3 coats to but I eventually started getting closer to the look I wanted. I then also did the same with the Yellow and just lightly dabbed over the areas to try and achieve a look that I liked. I wasn’t really too sure what I was aiming for because it’s not something I know anything about so I just kept going until I liked it.

Would I recommend going on a course. If you have the money then definitely yes! Or, would I recommend just giving it a go. Why not! Next time, I’m going to try and be a bit more confident with more colour and see what happens and I’m sure that the more I do it and the more I experiment, the more I’ll make sense of it. My patient side completely enjoys the process of trying and learning. My impatient side just wants to know how to do it well now!

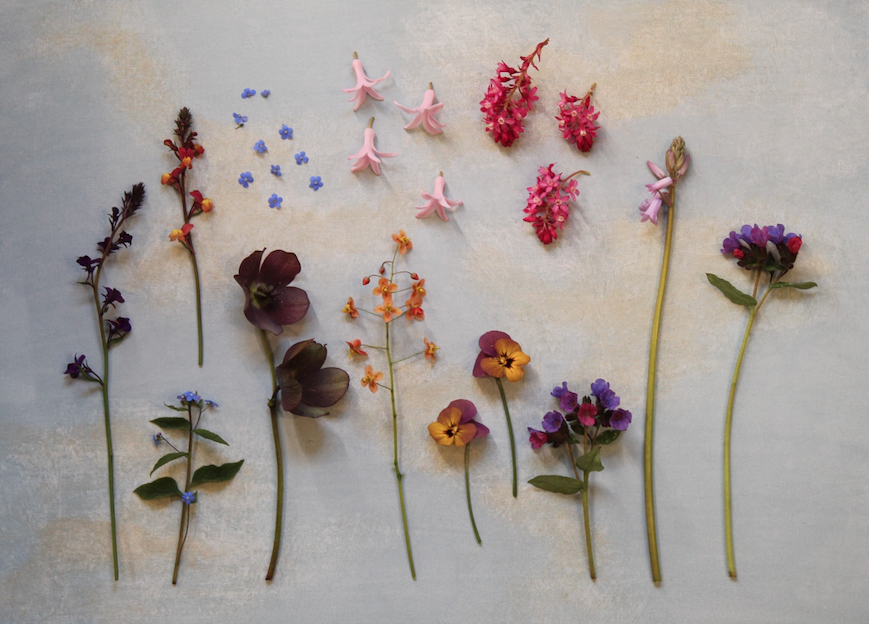
Here are the final results and as a bonus, I also found a new function on my camera for close up photography.

diy painted backdrop for flower photography
diy painted backdrop flower photography
Spring flower Epimedium

Spring flower Epimedium

Spring flower Pulmonaria

Spring flower Pulmonaria

Spring flower Ribes Sanguineum

Spring flower Ribes Sanguineum

Spring flower Brunnera

Spring flower Brunnera