The main annuals that I use as a wedding florist for cutting
One of the main subjects that florists wanted to know more about on my giveaway was annuals. What to grow and any tips.
So, I thought I’d share on a blog what I’ve been growing over the past 7 years and my favourites that are easy to grow and don’t require much care.
I start a lot of them off in autumn so that I have some earlier flowers to use in weddings but as it’s currently April I’ll share what I’m sowing now.
I don’t have a lot of space and I’m not a ‘grower’ so I choose annuals that give me a lot of filler flowers. I don’t use them as part of my wedding flower budget but I do use them in weddings if I feel that the budget hasn’t gone as far as expected, or on shoots so they don’t cost me a fortune and on Instagram to fill in on the times when I don’t have weddings.

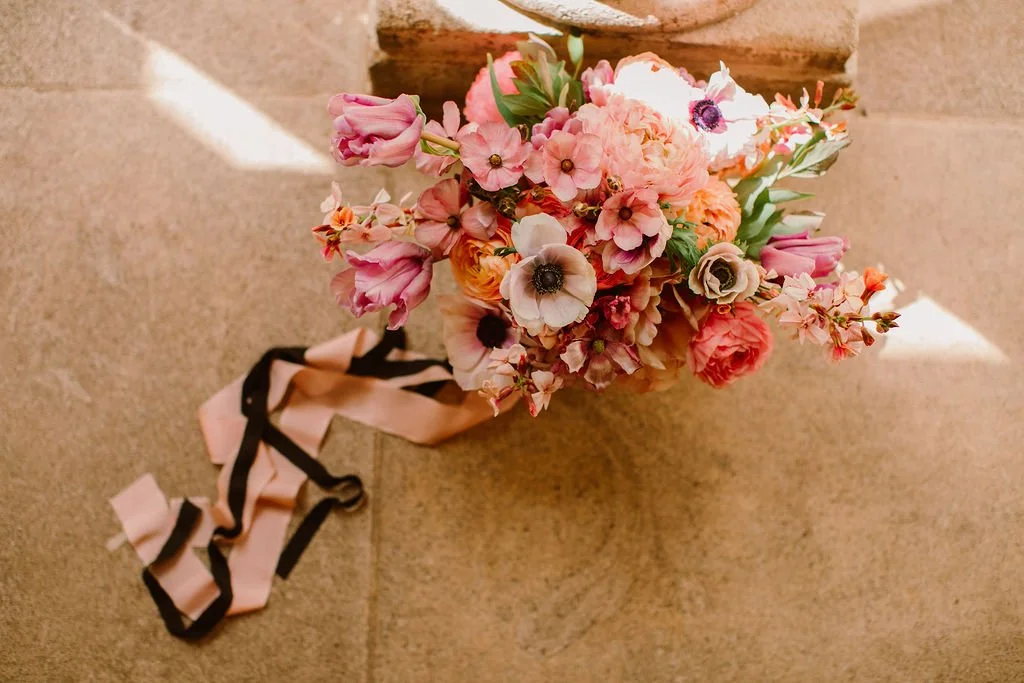
Mass of Ammi used at a photoshoot
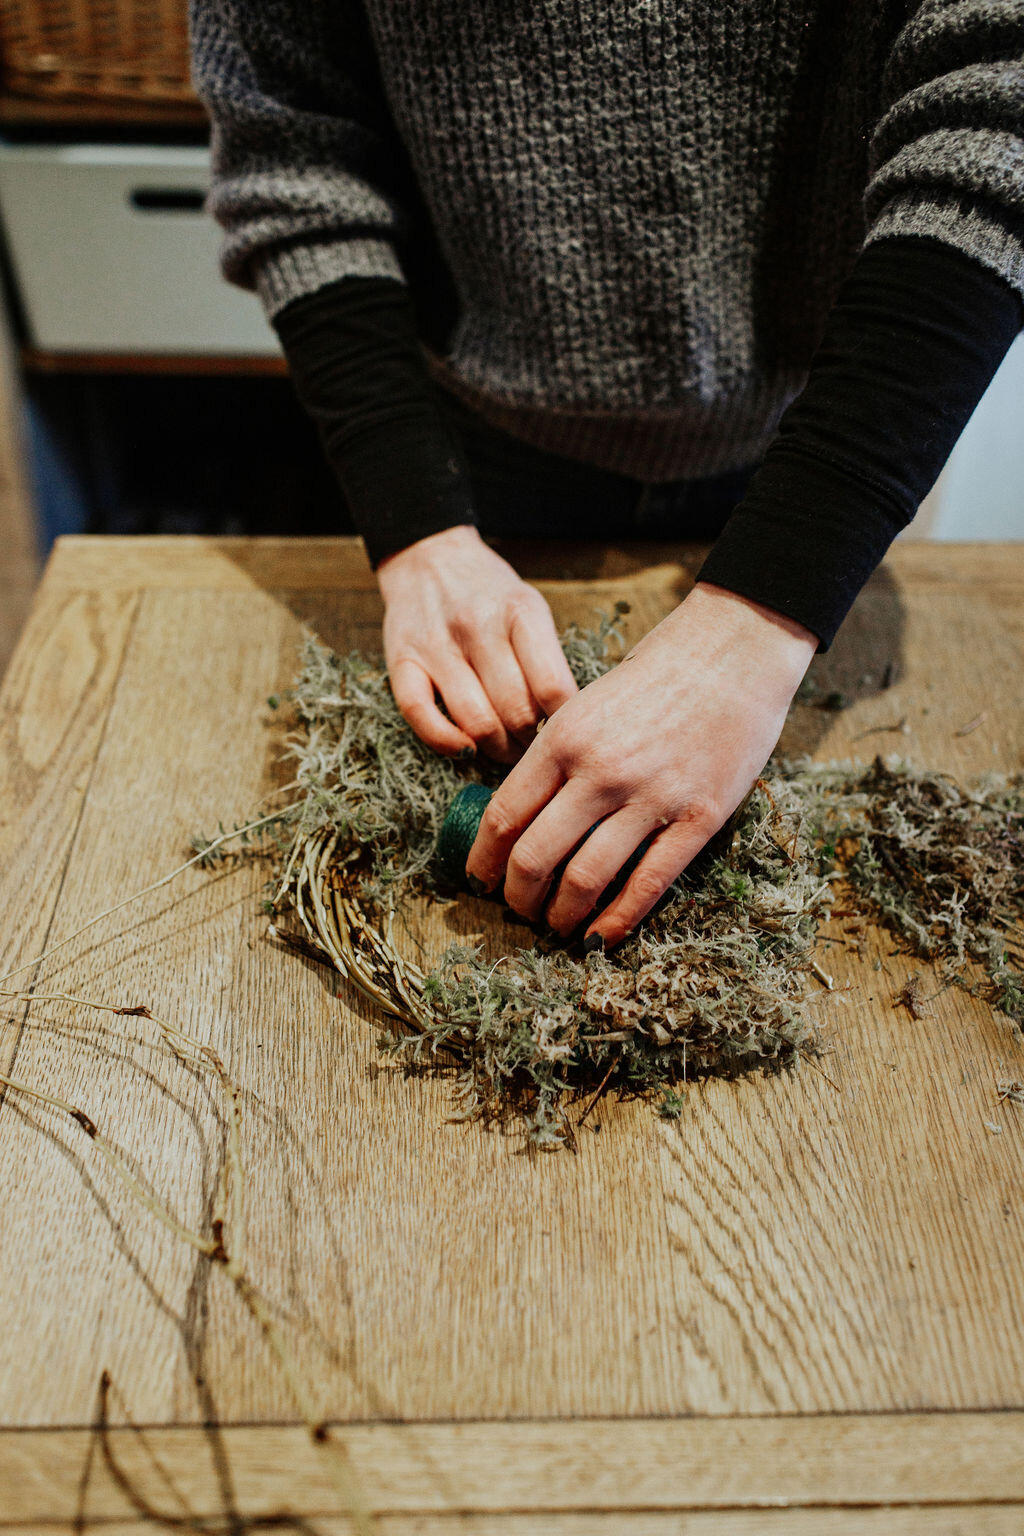
I can’t give you a date when I start them because last year it was probably around the start of March but this year I’ve only just tentatively started in the past two weeks because it’s been so cold. I do have a 6 x 8ft polytunnel but you can start them in your windows or once before I had the tunnel, I made a makeshift greenhouse with things I had in the garden. I used pallets to keep them off the floor that were covered in cardboard, then bricks to make sides that were covered with fleece with glass on the top. It’s just to give them some protection and warmth for the first few weeks before the last frosts have passed which can be up to the first week of May!

Cornflowers and Ammi. Photo taken by Oxi photography
The annuals that I grow can just be planted straight outside and they won’t mind the few frosts. I’ve read that this can actually give much better stronger results but I have found that I’m too much of a control freak and I like to know what’s going on and to be able to see them and care for them.
So, to what I’m sowing now. About two weeks ago I started Ammi, Cerinthe, Cosmos, Cornflowers, Field scabious and Linaria. The last one ‘Linaria’ was a new one that I tried last year and I just loved it enough to do again. The other one that is new for me is Agastache Rugosa (Korean Mint) I actually planted this into my borders rather than my cutting bed last year. It was such a beautiful flower and the bees absolutely loved it so this year I’ve sown more but it’s really just for me and the bees, I doubt I will cut from them.
I only grow around 10 of each of these because I don’t have enough space for any more but that tends to be enough for what I need. I’d love to grow more but my kids aren’t quite old enough yet for me to get rid of their climbing frame and dig up the grass for more beds. One day!
My biggest struggle with growing is Easter holidays! In normal times, we go away for a few days with the kids and this is usually when the seedlings are at the prime time for needing looking after and either covering with fleece on freezing nights or watering lots on hot days (another reason why I’d like to try directly sowing outside)
I also tried Zinnias for the first time last year and found they were incredibly hard working and gave so much! I won’t sow these until the middle of May though and I plant them in the tunnel as they are more tender than the others.
Lastly, some tips that I’ve learnt over the years. I have a small three tray heat mat and it really helps to just get them going when March temperatures can be so erratic. If you can be patient then wait until the Spring equinox (which was 20th March this year) before you start sowing. That’s when the days officially start getting longer and you will have a much higher chance of success.
All of the annuals mentioned at the start germinate within a week if they’re at the right temperature and sown at the right time and the Ammi, cornflowers, field scabious and Cosmos all need staking. Put a big stake in when you plant them out and tie them in as they grow otherwise they all start squashing each other once they get taller. Although one year I just didn’t get around to staking my larkspur (haven’t mentioned them here as I sow them in autumn) and look what it meant I could make with them.

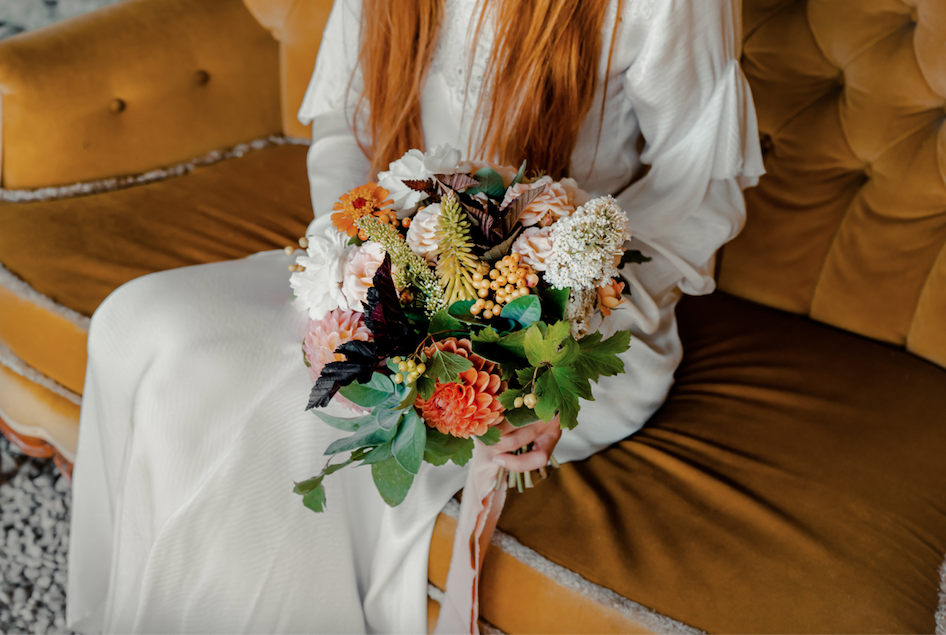
Larkspur, Calendula, Covent garden Gyp and Roses all grown in my garden used for an instagram photo
Once planted out, other than tying in, they don’t need much care. They benefit from regular watering because their roots don’t go very deep and a weekly feed always helps along with deadheading but to be honest I don’t always get time to do this and they’re fine (they will just be better if you can)
As I grow these annuals each year I make sure that I collect the seeds in Autumn because why would you want to pay for more when you’ll have lots!
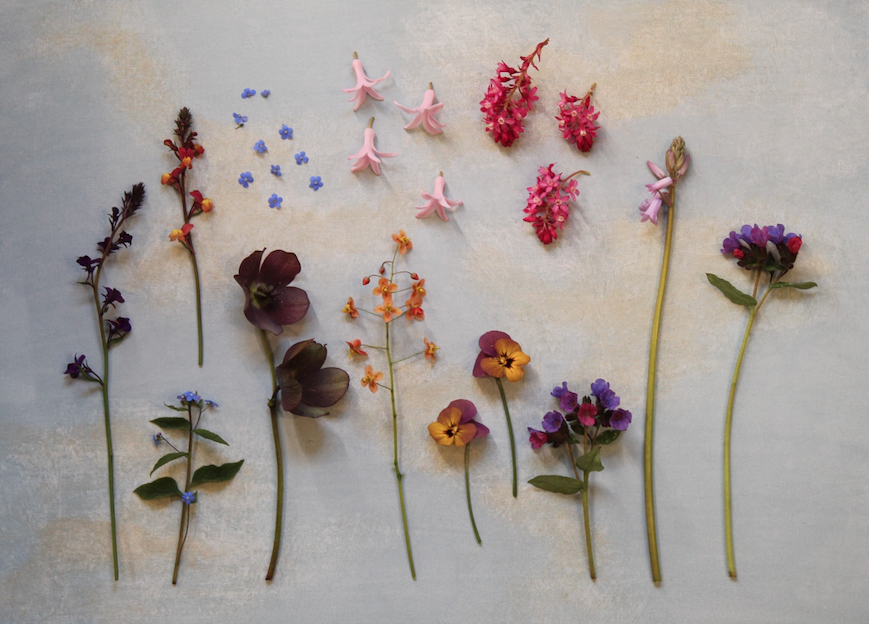
Finally, if I do have any flowers left that I haven’t been able to use then, I dry or press them.
These are my main stay annuals for cutting that are easy to grow, require little care and give lots! I think that the best thing to do is to start. You’ll find what you like and what you want to grow again next year. I hope that’s helpful and if you have any questions then just ask.

Linaria Maroccana

Mass of Ammi in my rebrand photoshoot

Ammi, Cosmos, Field Scabious and Chive flowers

Ammi, Cosmos, Field Scabious on a photoshoot

Dried and pressed larkspur petals